Whilst recently working at a local theatre, the dressing rooms were being renovated and re-painted. The small cork boards on each door for posting messages and labelling each with the names of actors were being replaced with new ones. The cork part of the boards was only a thin layer and had been well used, so they were looking a little worse for wear, but the frames on 4 of them were sturdy wood, and I decided to save them from the garbage.
After xmas I finally had time to make them over for the sewing room. It’s always helpful to have a place to pin up samples, inspiration pictures, receipts and lists so they can be referenced easily. I already have a large pin board (a real life one – not on the internet!) that mostly houses those special little bits and pieces that would otherwise be lost in the depths of a bin or drawer.
Here’s the original state of the boards:
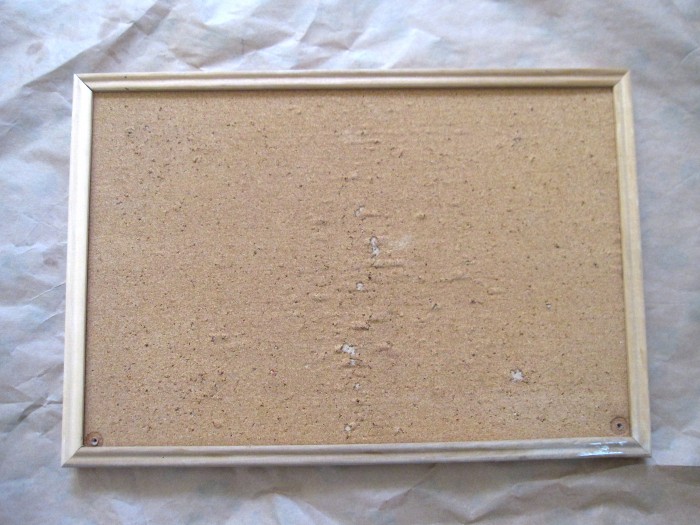
needs some TLC – and gold paint!
Since I planned to cover the cork, I went to town with some white house paint I had around, then gold acrylic paint to cover the wood frames.
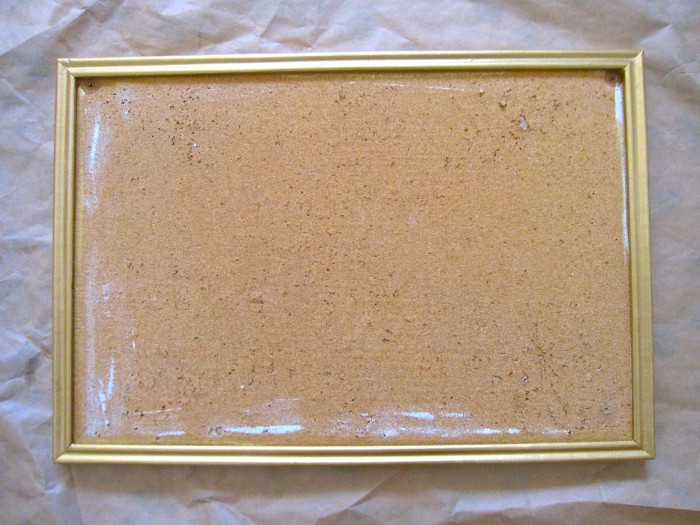
Looking prettier, and matching the other gold frames in my sewing room
Next, I cut some scrap cotton sheeting (it’s great to have around) just about 1/4 inch larger all around than the inside of the frame. The fabric was tea stained in a mixing bowl – I did this from dry fabric as I wasn’t fussy about getting it completely even. If you want to make the colour wash consistent, wet the fabric first before adding to the dye bath. I know that these boards will be covered with stuff mostly so no one will be looking that close!
I noticed that the frames were slightly shifty around the boards which meant that it would be easier to tuck in the edges of the fabric rather than dismantle the frame and cover the boards separately. Masking off the frame with scrap paper, I applied a spray adhesive to the cork, and carefully smoothed out the fabric over it – lining up the edges evenly around the outside.
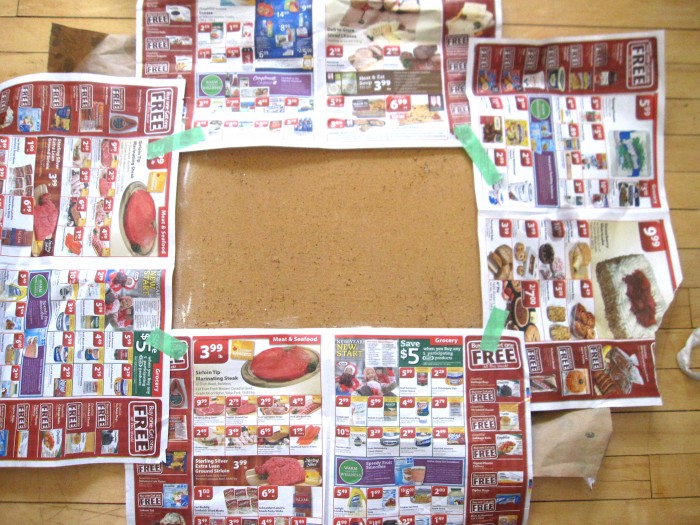
spray glue is great, but make sure it’s only going where you want it to!
To tuck in the fabric, I used a very small flathead screwdriver – but any small thin tool would do.
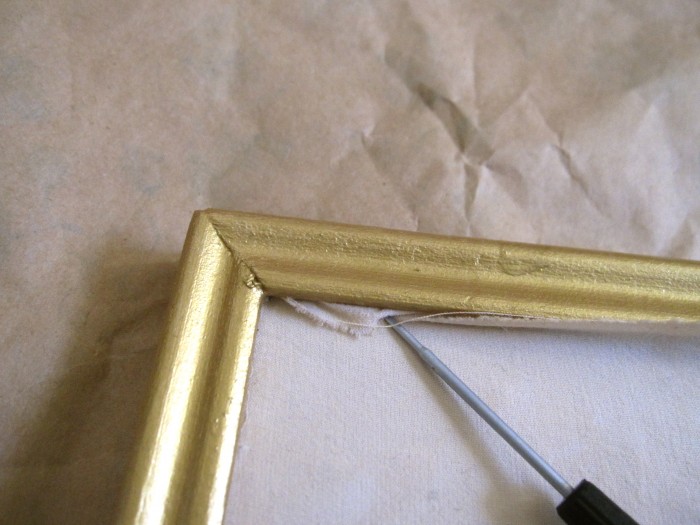
get under there!
Some bits took a couple of passes to get entirely under the frame but it all worked out in the end.
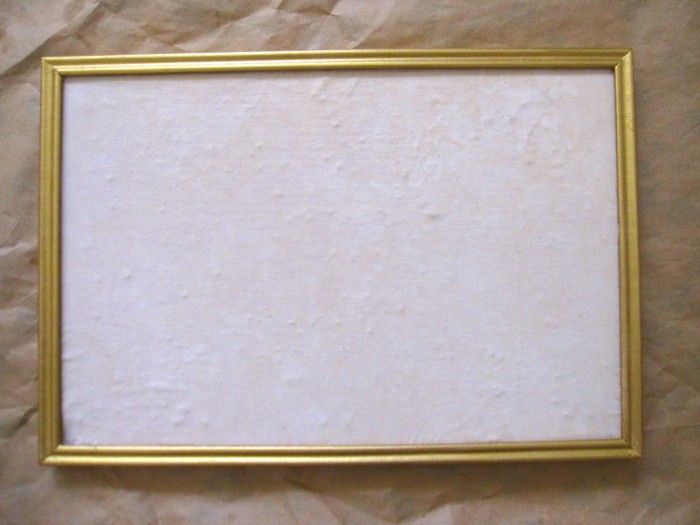
One of the finished boards!
I’ve done 2 of these – pics of them in action once the sewing room is done!
Love Heather