As much as i love using vintage sewing supplies, sometimes they need a little love. My sleeveboard’s fabric cover was wearing through at the edges, so I decided to make a new one.
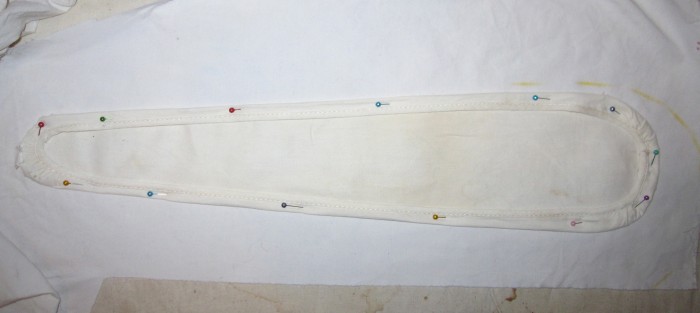
Sleeveboard cover: first step.
Using the old cover as a pattern, I pinned it on top of a vintage cotton sheet I’d already cut up for other projects.
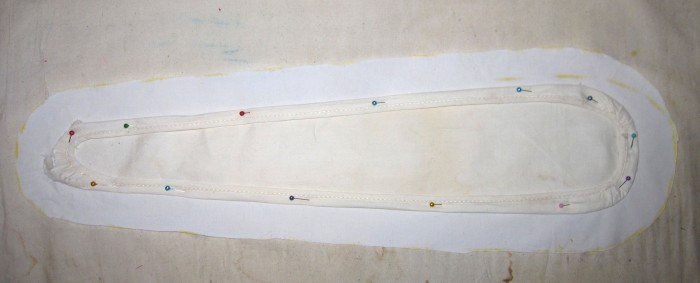
Sleeveboard cover – cut out
I marked a 1 1/4″ border around it , cut it out, then bound the edge with my serger’s rolled hem.
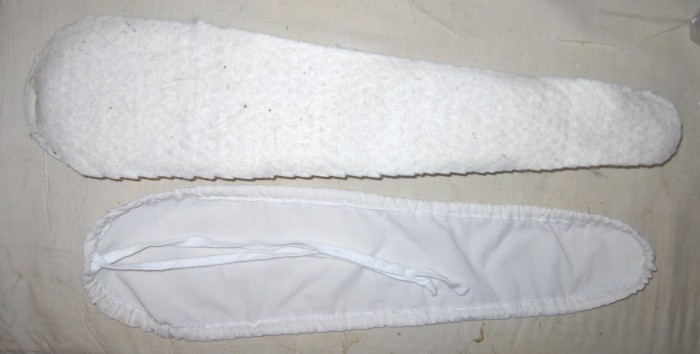
Sleeveboard cover and the board with a new piece of batting.
The long edges were pressed in 1/2″, and the rounded ends were eased into the hem with a quick running stitch by hand. Leaving an opening at the larger end of the cover, I threaded a piece of lacing through the pocket, and used it to tighten the new cover onto the sleeveboard. To protect the cover and the board, I cut a piece of cotton quilt batting in the shape of the board to cover the wooden edges.
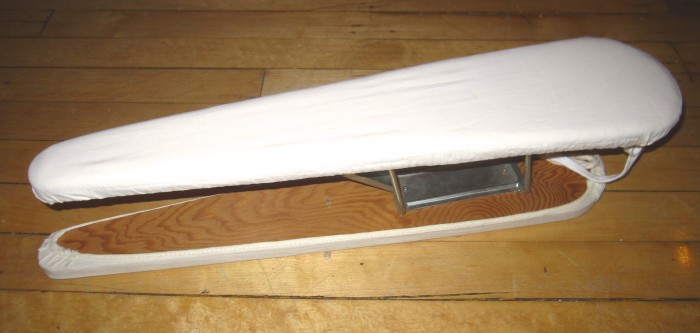
The finished cover.
This process could be used to recover any ironing board. I love that it’s so lovely and clean!
A nice quick project that needed doing. Hurrah!
Love Heather