Whilst putting together one of my recent garments, I started thinking about how different sewists have different methods for common sewing techniques. It all depends where you learned to sew, and what works best for you. I’ve seen a number of different methods for marking darts, but here’s my take. I’ve developed this method to be straightforward and to keep the pattern intact.
Tissue patterns especially seem intended for one time use. It’s amazing that as many vintage versions have survived decades of use and handling. So many methods of transferring darts and other information to the garment fabric involve piercing through the pattern with a needle, tracing wheel or pins.
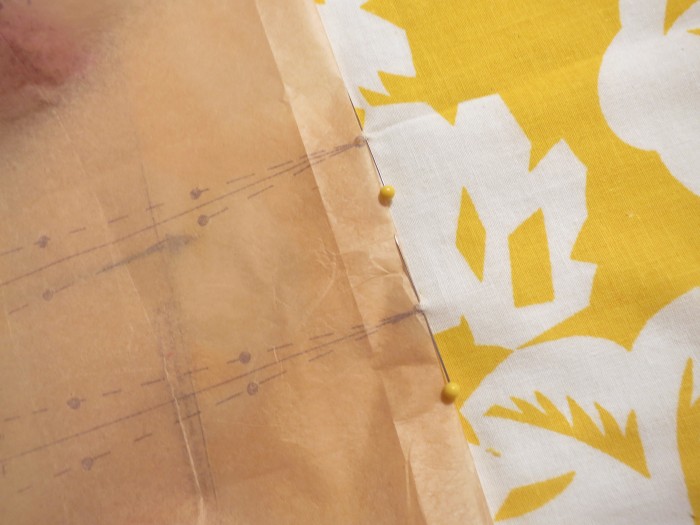
For my method, I first weight or pin the pattern to the fabric, then cut out the main outline. I’ve started using snips into the seam allowance instead of cutting around the little points as it ends up being smoother and more precise. I use the same method to mark the outside endpoints of the dart.
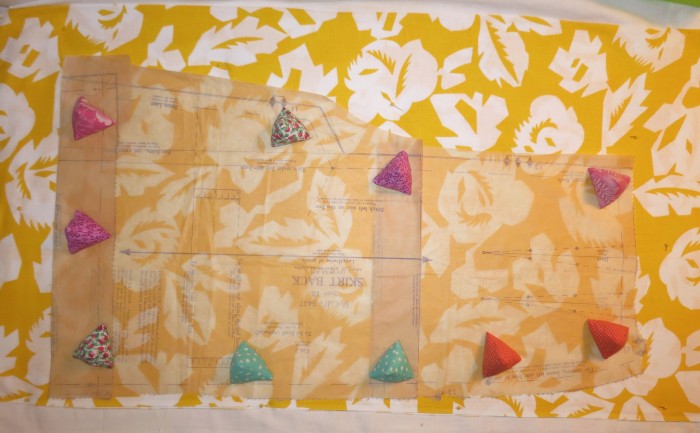
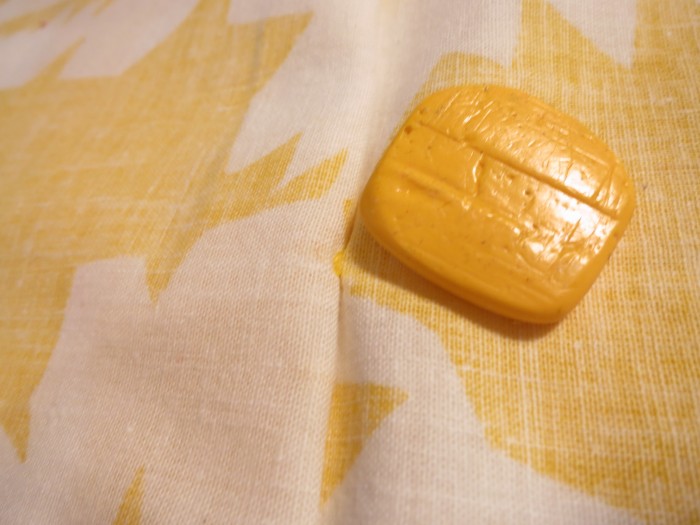
(These little pattern weights were made with a free pattern from TeaRoseHome. They are filled with rice and work great, especially on vintage patterns that I want to preserve by not pinning directly into!)
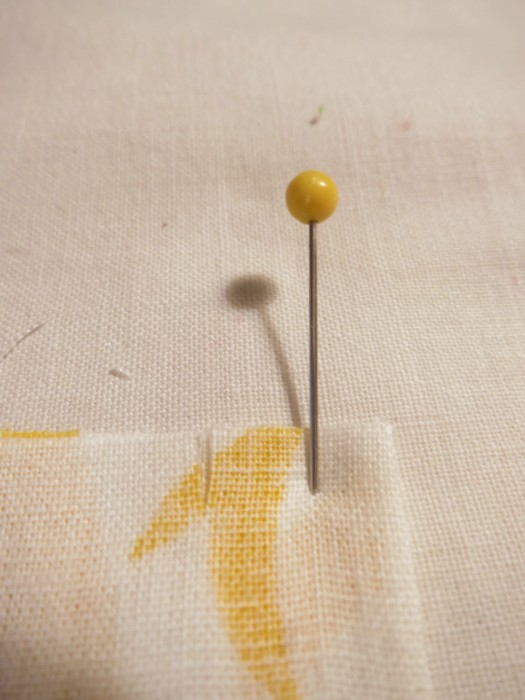
For the dart point, I unpin the part of the pattern above the dart, and fold it down to where the point is marked. Then I pin through both layers of the material (if doubled) at that point. In place of pins, you could also use a tailor’s tack. If there is more than one dart in the pattern piece, I replace the pattern, and repeat the process in the area of the other darts.
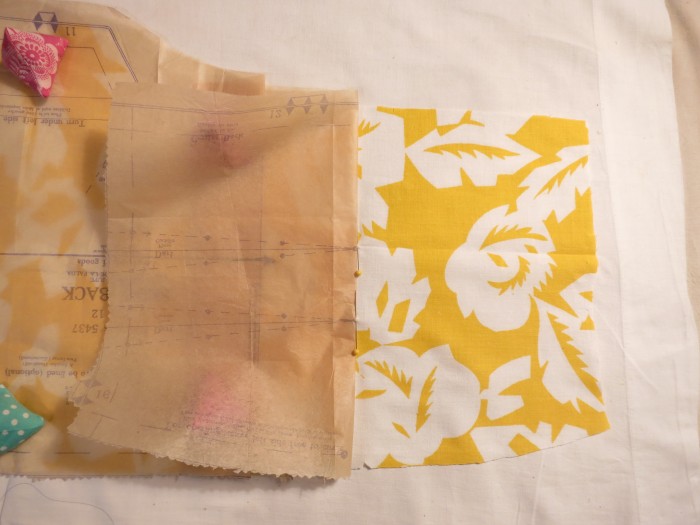
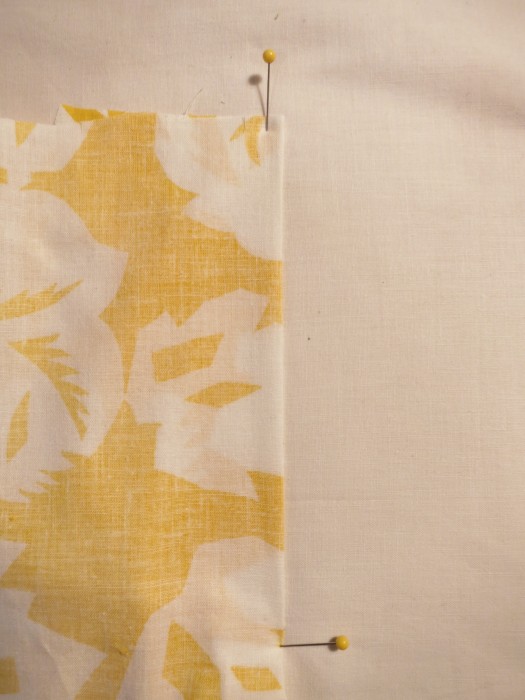
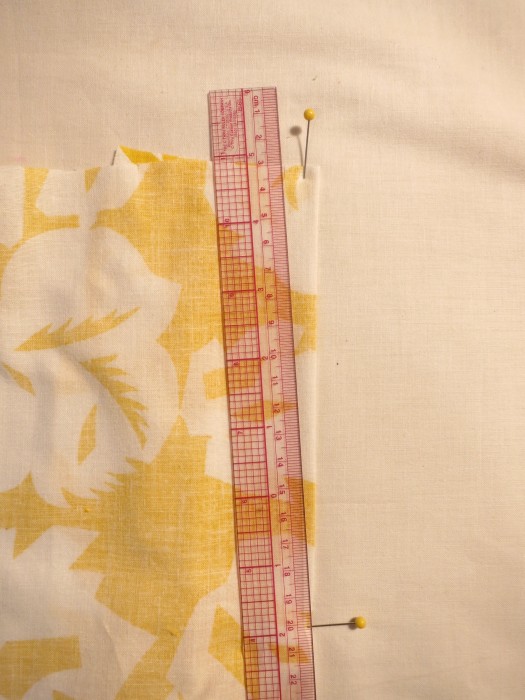
Once I’ve removed the pattern, I fold back one layer of fabric, and mark both pieces on the wrong side where the pin is.
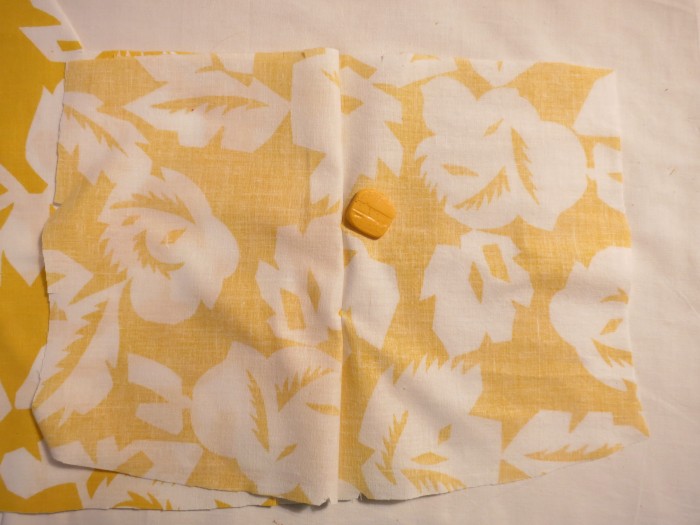
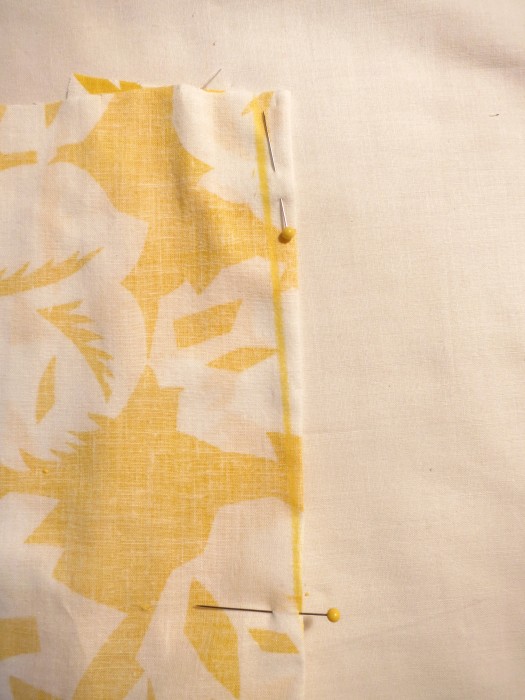
Now I can remove the pins and work on each piece individually. Working in the same orientation as I will be sewing the dart, I fold the fabric along the dart, placing a pin through the point, and matching my snips at the top/edge. After pressing the fold, I simply join the points with a marking tool. Here I’ve used a tailor’s crayon in the same colour as my print as it will not show on the outside. Depending on your fabric, you could cease it with a tool, use your tracing wheel or even a line of pins. Having a surface that you can pin into is really helpful here to get crisp results. It allows you to pin both ends while you iron and mark – like an extra pair of hands.
For smaller darts I usually only use 2 pins. One in the dart at the top and one perpendicular to the dart at the point to have something to aim for when I’m sewing.
Hope that was useful to you readers!
Next, adventures in missing pattern pieces…
~ Heather