
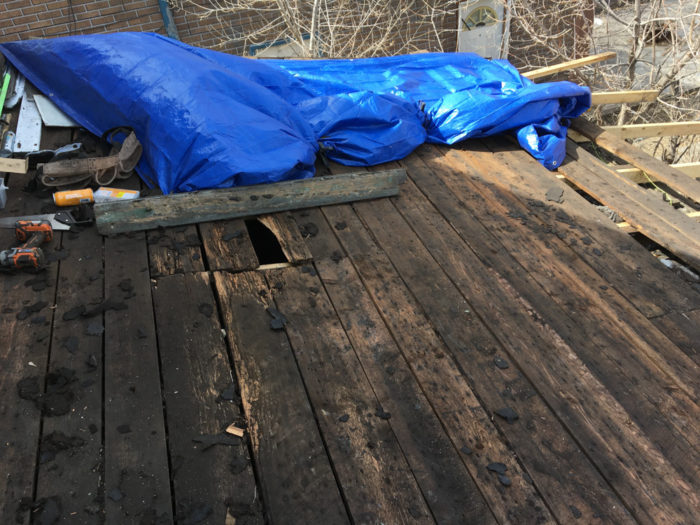
Once we had got the roof down to the wooden support structure, it was in need of a lot of TLC. It’s hard to imagine that no one has seen these planks in over 100 years. A surprising percentage of the lumber was still in good shape, with some unsurprising damage especially around the edges and in the middle where it had dipped down causing water and snow to collect.
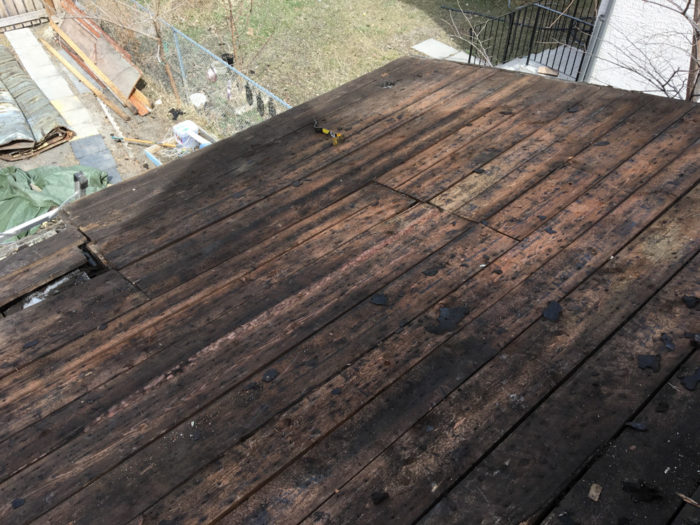
Nearly bare wood that hasn’t seen daylight for 100 years
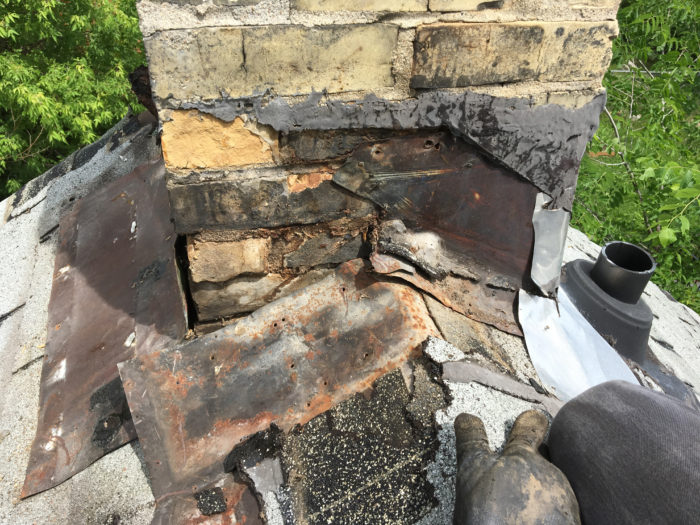
In one of the top corners was a stove chimney hole where the kitchen range or coal stove would have vented.

Under the 1920s metal roof was a hole near the corner of the kitchen, probably from a stove chimney. Or possibly a pipe directing water from the eaves troughs inside and down into the basement sewer pipes. The city used to be OK with that.
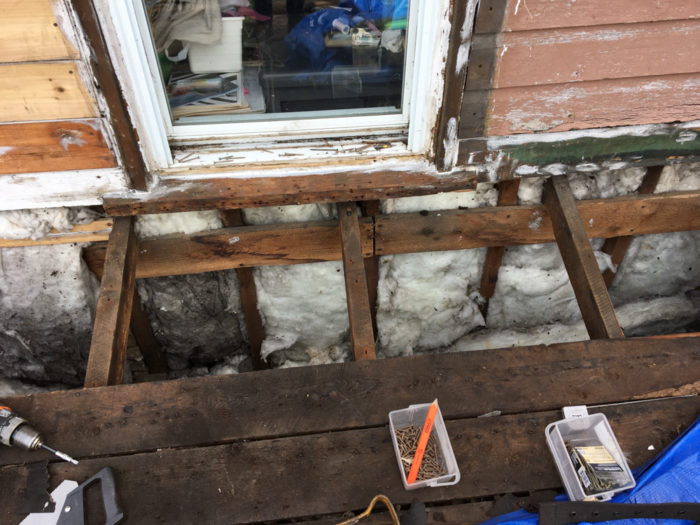
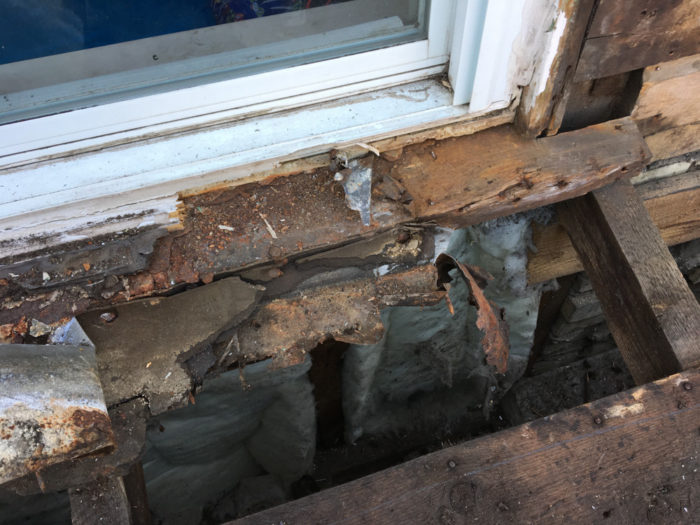
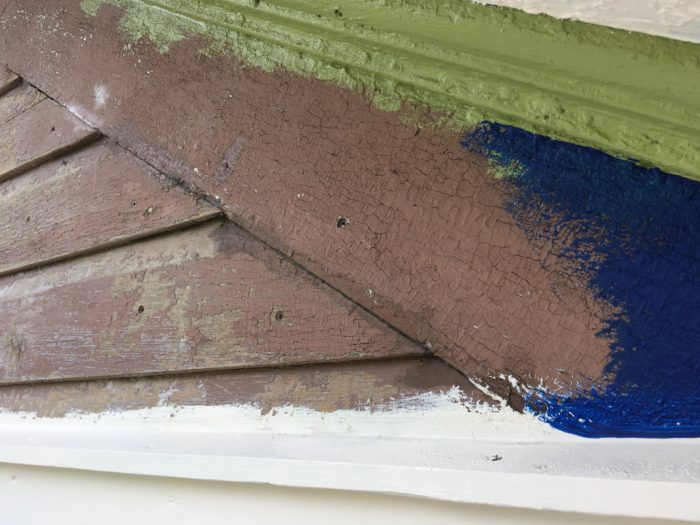
The bottom of the window sills had actually been covered by the extra layers of roof and had been water damaged, so Leif ended up re-building the frames on both upper story back windows. In the process we also discovered that this part of the house had 2 layers of siding (as we had found previously on the lower part of the outside walls). It was once this lovely green colour. It’s our guess that the whole house got quite the makeover in the 1920s when the basement was dug out, new floors were installed and the metal roof was put on. Perhaps they also re-cladded the outer walls at that time too.
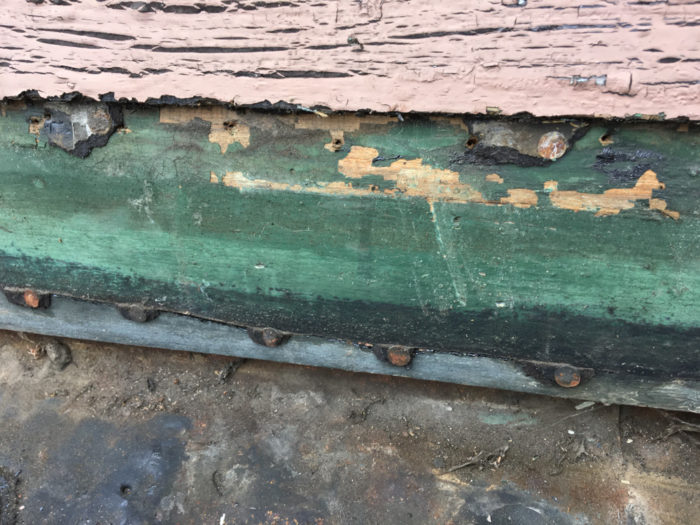
Top is the current outer cladding (faded brown). Below is a second layer of cladding showing that this house was once (perhaps originally) this green colour.
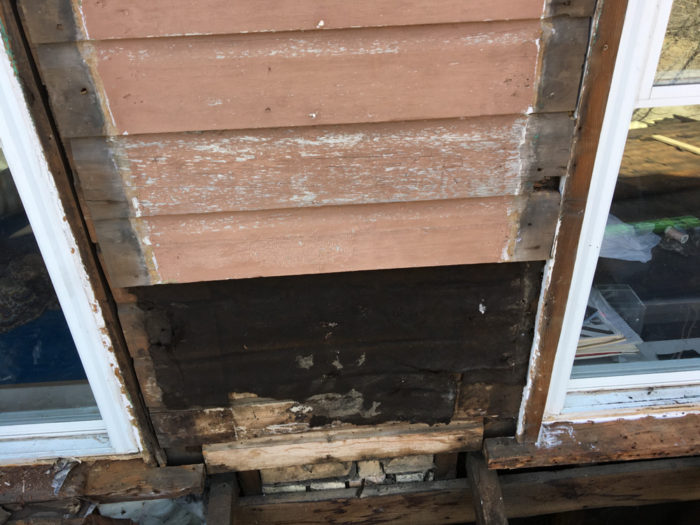
Double layer siding between the windows.
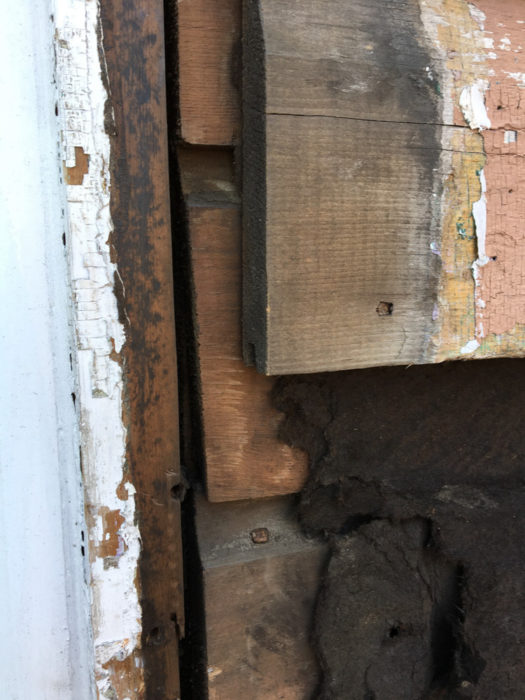
Cladding on cladding detail. At least this means the walls are pretty sturdy. Many years ago, tar paper and builders felt were used to keep the drafts out and for many houses this was the only “insulation” against the Winnipeg winters.
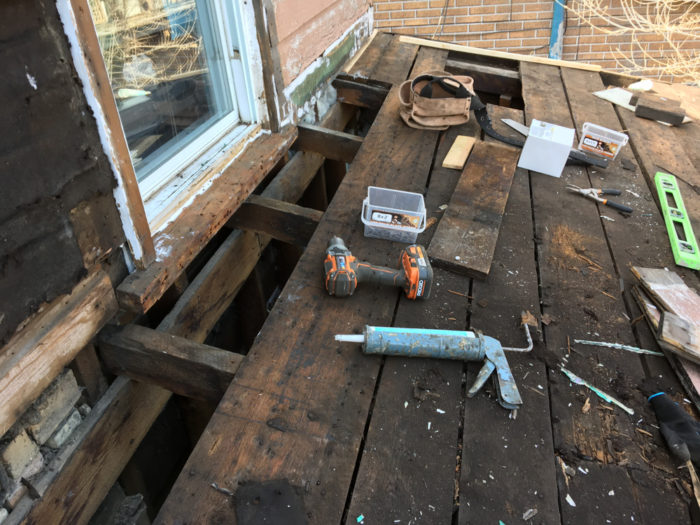
Decking partially removed. Cladding and window frame repairs in progress. Insulation being put on the wall.
As much as possible, Leif tried to use the materials we had ripped out of or off of the house to repair the roof, and using comparable new materials where needed. On the lower edge that had been damaged, he replaced that board with another in better shape from the upper part of the roof, so that the visible part preserves the house’s history.
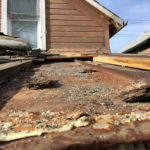
The most damaged areas were unsurprisingly around the edges where years of rain and snow plus some not great sealing work caused the wood to rot. In the lower left corner of this photo you can see the bricks from the chimney.
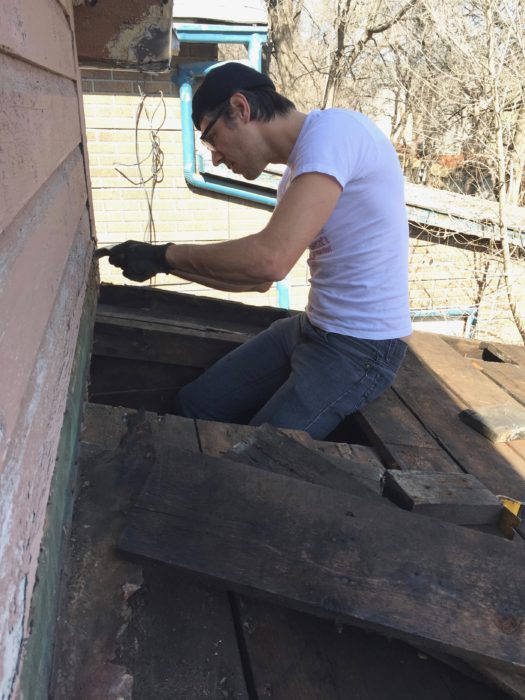
Removing layers of material around the window frames that was no longer providing support or weatherproofing. We also took the opportunity to investigate the beams supporting the roof and the state of insulation on the ceiling below.

Mystery hole with pattern of nail holes around it near the lower edge of the roof. Possibly another chimney or vent.
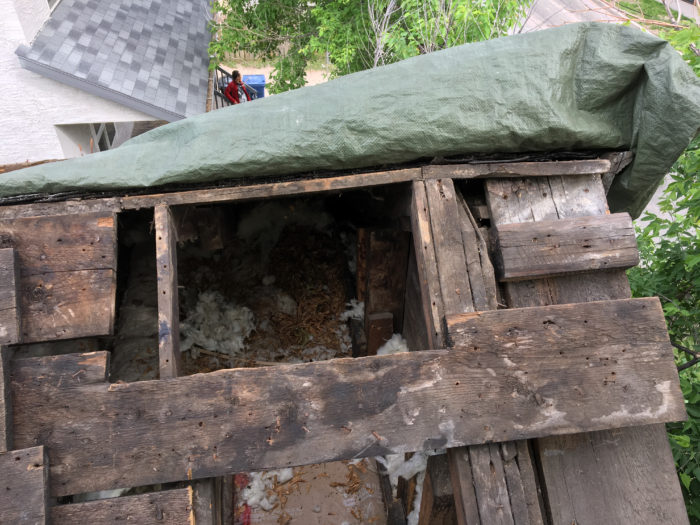
Key roof repair equipment: Large tarp for the inevitable rain showers during the job.
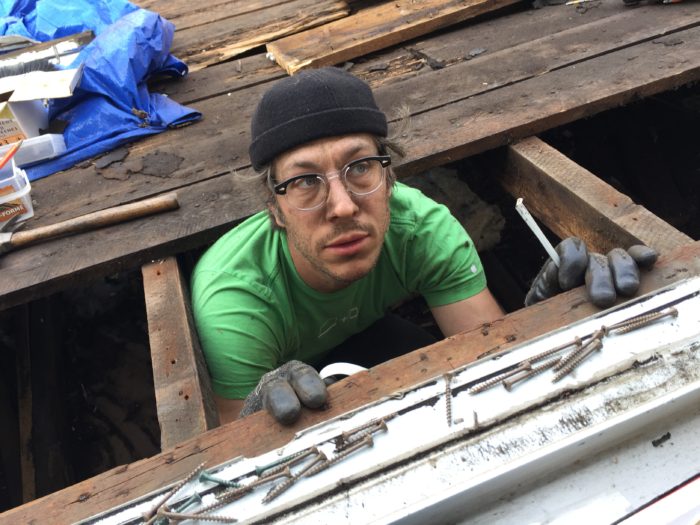
Leif the roofing elf.
Scraping out the nooks and crannies.
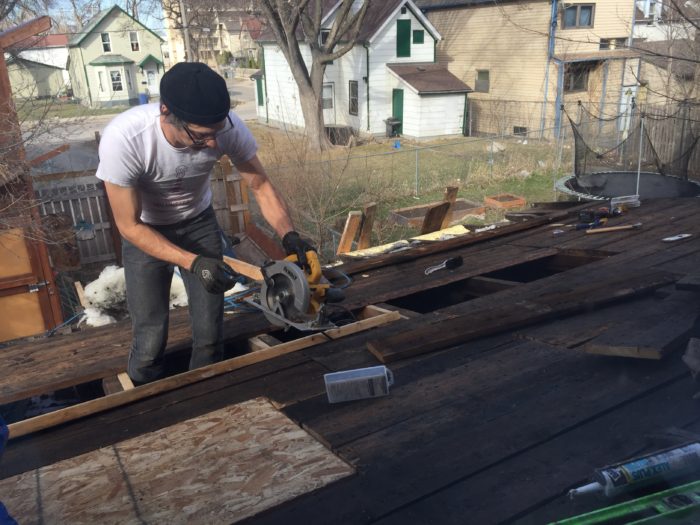
Replacing rotten wood with new wood, and old non-rotten wood. Good plan.
Shop vac robot supervising the progress.
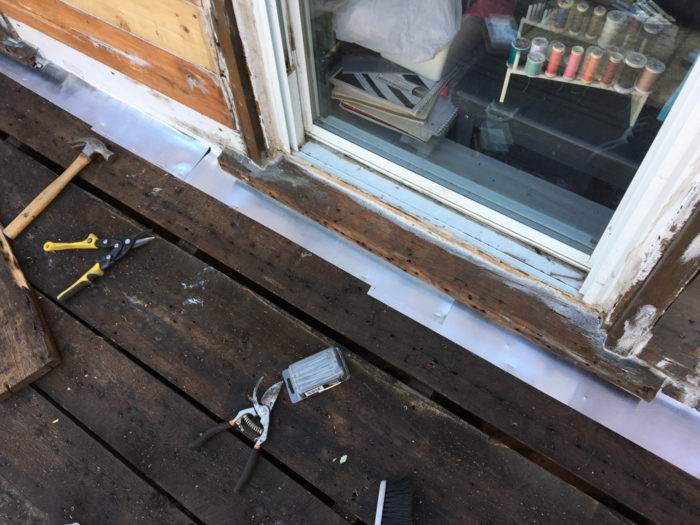
Re-built window frame and sealing the join properly with aluminum sheeting.
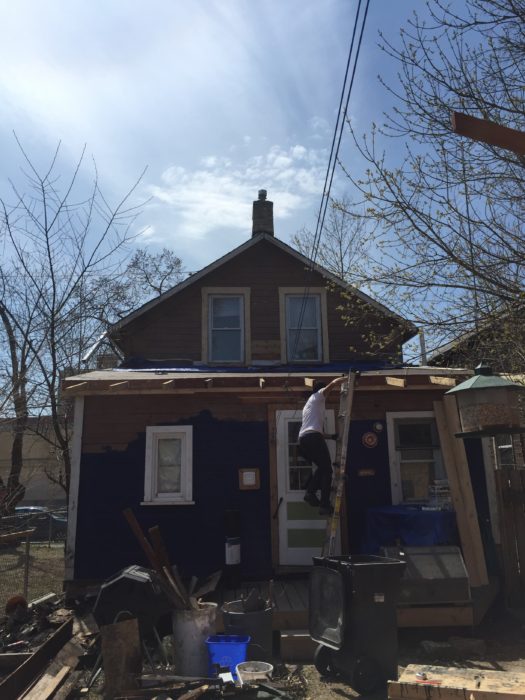
As an additional measure to protect that lower edge/ above the door, plus create shade over the deck, extensions were added to the beams so that the roof is continuous from the top to 4 feet past the edge of the house.
Extended supports over the deck.
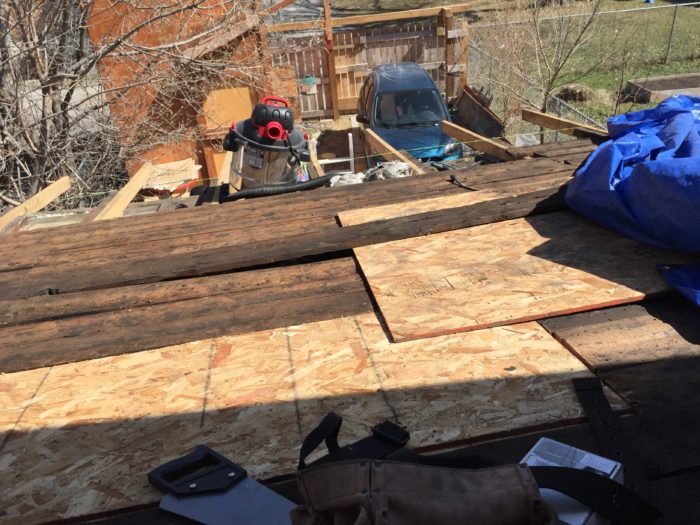
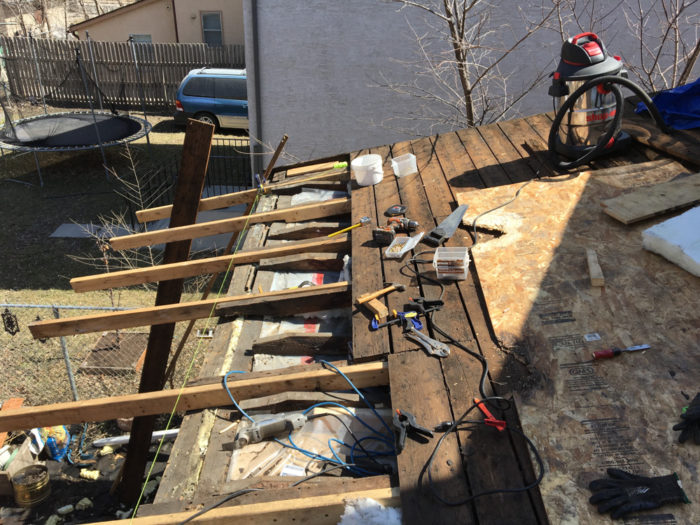
Pre-metal roofing supports and sheathing.
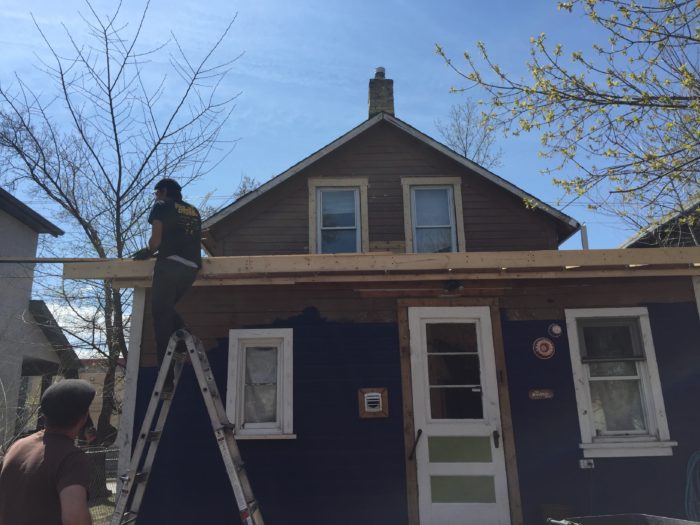
More framing to hold up that metal. And James.
Since shingles in our climate do not hold up well, we decided to go with a new metal roof that should last another 100 years. Luckily, there is a metal place very close to our house. They were super helpful and friendly, delivering right to our back gate and offering advice and assistance if we needed it. They also appreciated the fact that we were taking on the preservation of an old house in this neighbourhood, and doing it ourselves. It’s great when you can support awesome local independent businesses!
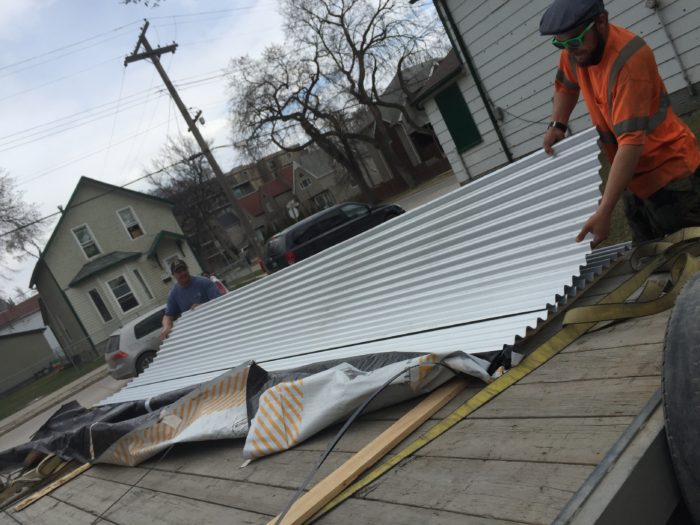
Fresh metal roofing came right to our back gate and was unloaded by these friendly fellows. It doesn’t look like much, but this was for the entire back roof.
With assistance from a helpful friend, and a less helpful but enthusiastic nephew, Leif got the new kitchen roof finished just before we left on our annual road trip! It was nice to know that it was now solid and watertight.
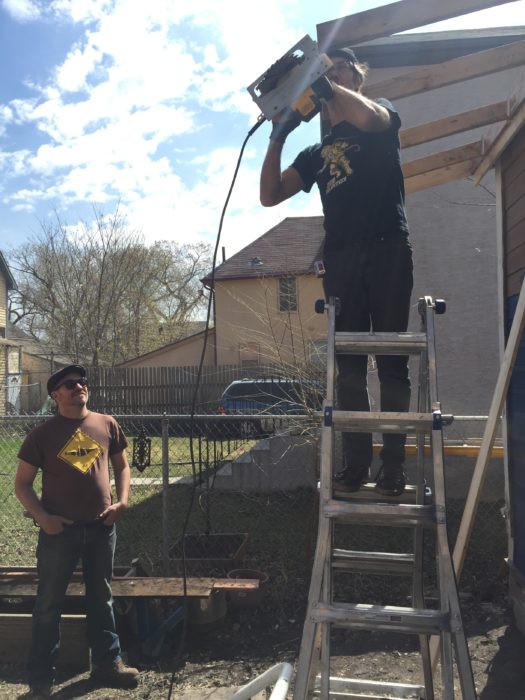
James supervises.
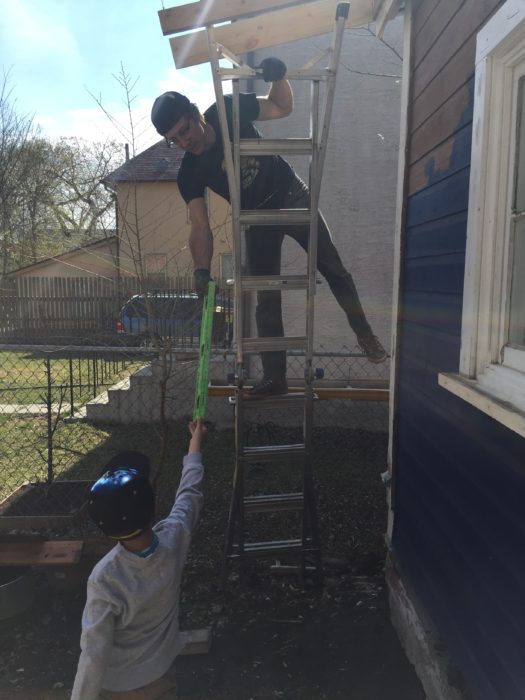
Silas getting Leif to make sure things are level.

New roof gleaming in the sun!
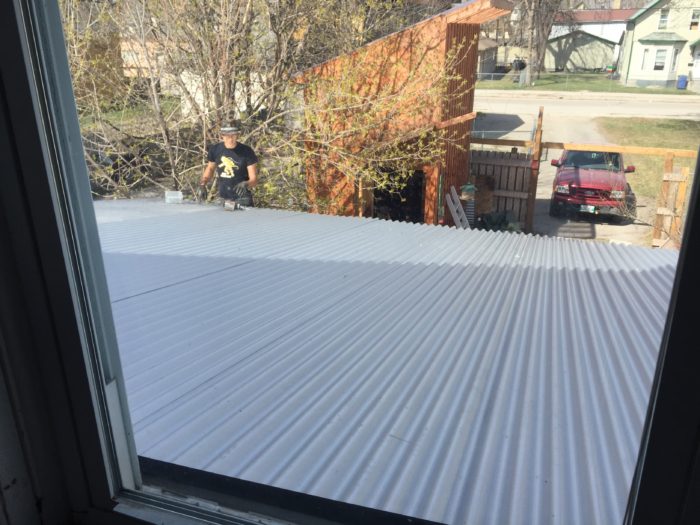
The kitchen roof from the upper window.
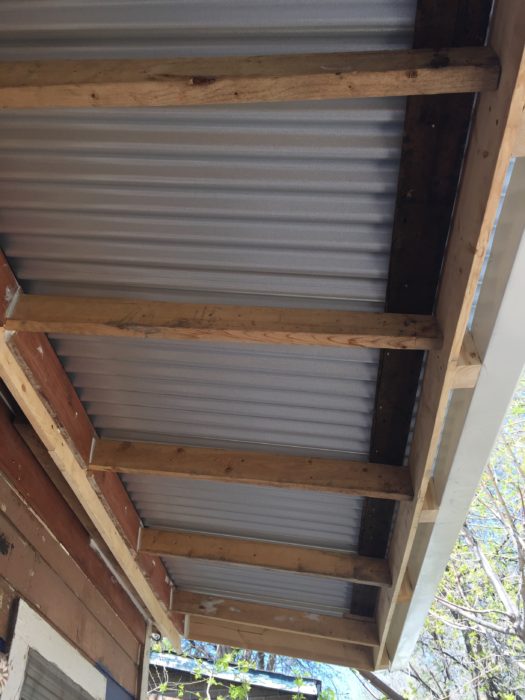
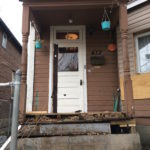
The overhang from below. The wall and door are now super protected, and we have shade on the deck. You can see the salvaged Victorian wood along the underside bottom edge (darker wood).
When we got back from our trip, we decided that the upper roof (previously scheduled to be done next spring) needed to be done right away. It was in even worse shape, with only a layer of badly degrading shingles “protecting” it from the elements. We had already had evidence of water leaking into the outside walls and feared leaving it another year would not be wise.
A similar process to the kitchen roof ensued, but with less layer removal (the last people to do the roof didn’t even use underlayment over most of the area…). Lots of repairs, hammering in antique nails and re-building the soffits and fascia to replace the water/squirrel damaged wood followed.
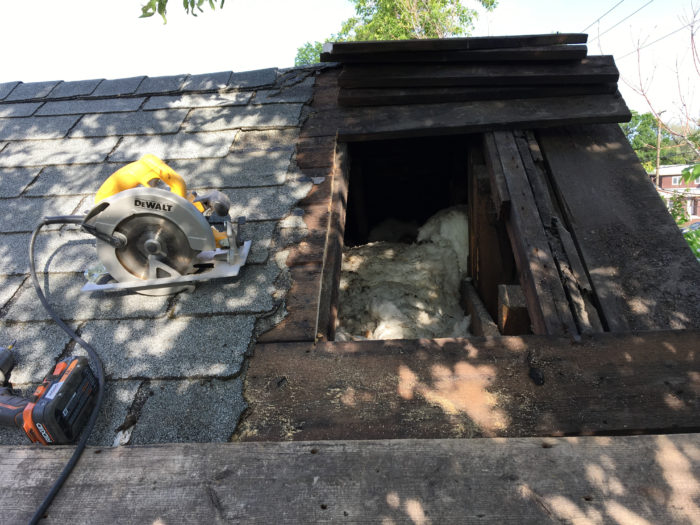
The upper roof near the front of the house. Investigating previous insulation and conditions inside (some insulation, lots of squirrel nests).
A cutout in the decking near the peak was probably for a stove chimney sometime in the past.
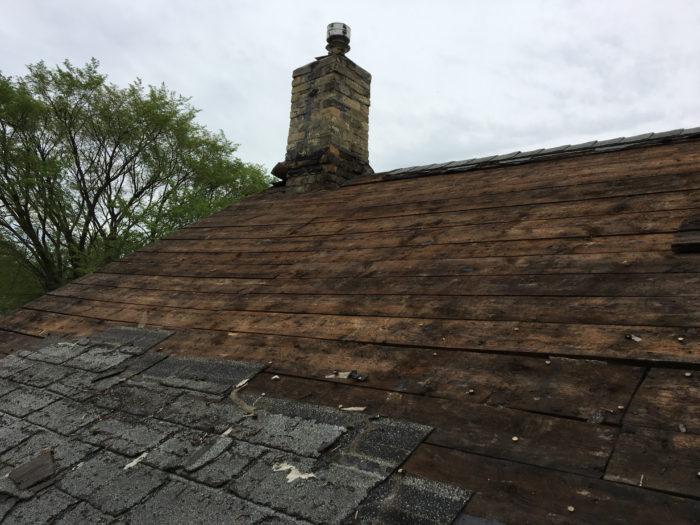
Victorian era decking. Surprisingly, most of it was in decent shape! Every bit of it had to be cleared of nails so the new tar paper would not be poked full of holes and shredded when it was put on top. There were nails almost every three inches.
Furnace chimney layers. Some of the metal was recycled from old signs.
The vent and chimney got sealed properly, and the new metal roof was installed (with proper underlayment this time!). It looks great, although tricky to photograph due to the angle. It will keep this house safe and dry for many years.
Tricky angles to photograph the top roof progress. Spot the Leif.
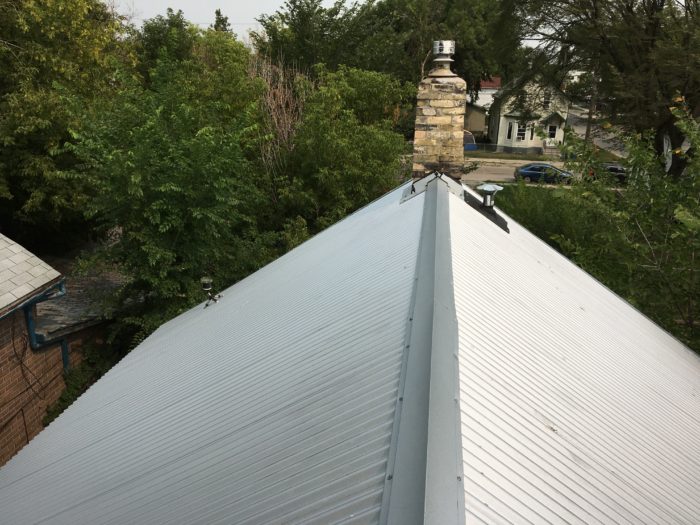
New metal roof should last another 100 years!
SIDEBAR: We also removed and restored the decorative gable structure on the front of the house. It’s nice to honour the original architecture by highlighting those forgotten elements.
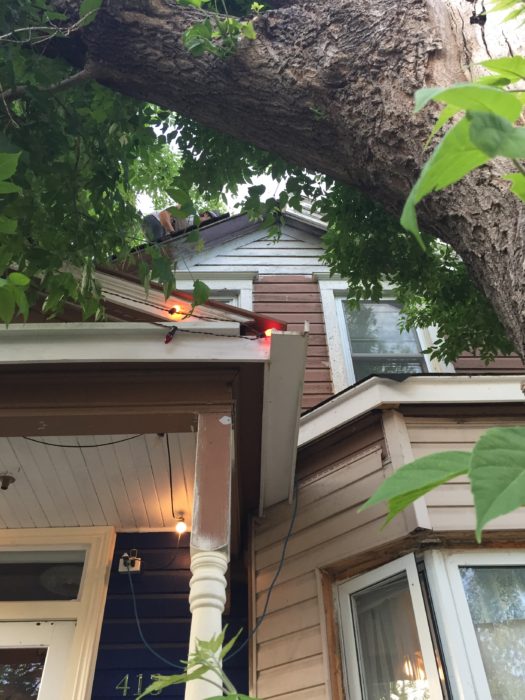
Look up! Though modest, our house does have some extant Victorian details.
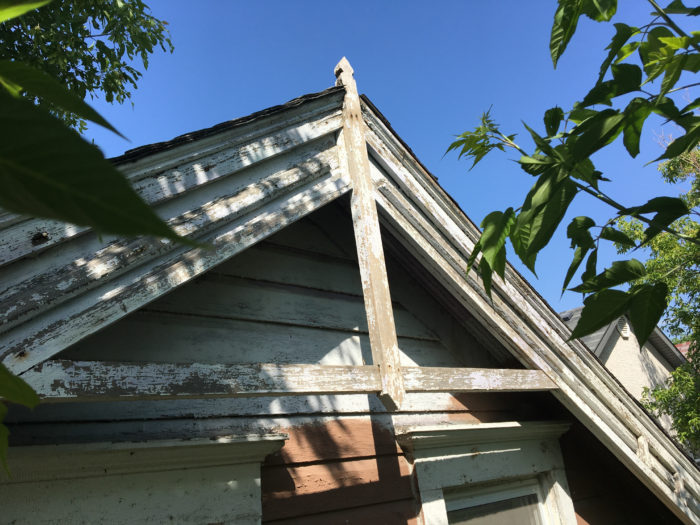
OG front gable decorative woodwork. Also note that the very top of the house was obviously painted even more infrequently – probably because it’s tricky to get up there…
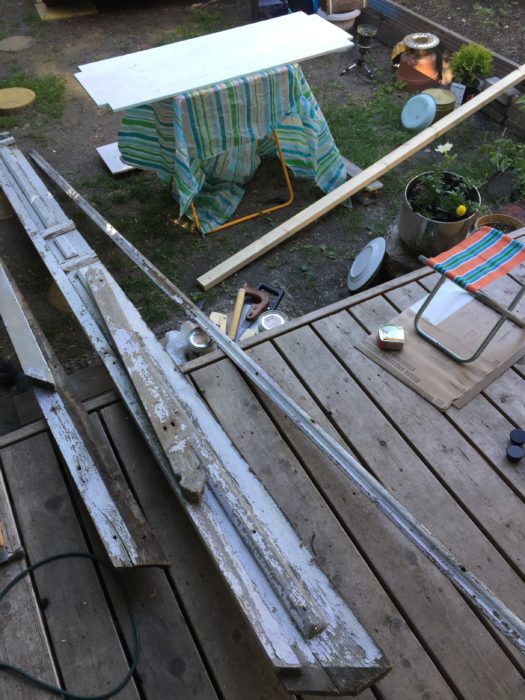
In order to properly restore them, we removed the decorative trim. Also, sewing room shelving in progress.
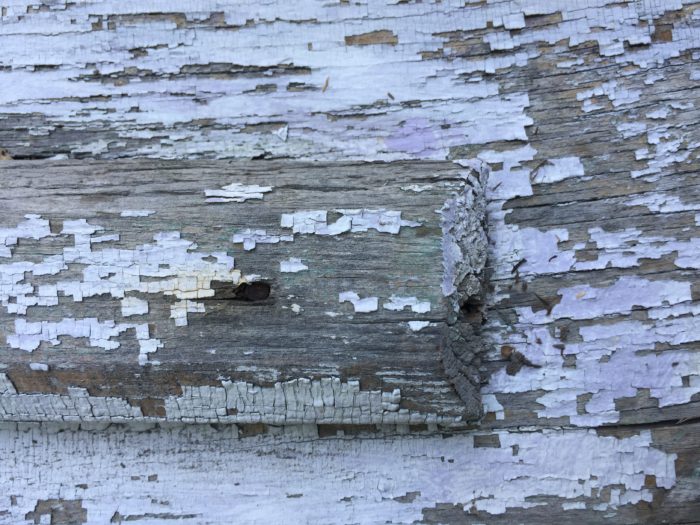
Detail of trim. These faceted pieces are nailed to a flat base. Some elements were replaced if they were too far gone to restore. We repainted them in contrasting colours to make them pop (‘after’ photos coming soon!). Somebody once painted them lavender (along with the rest of the exterior).
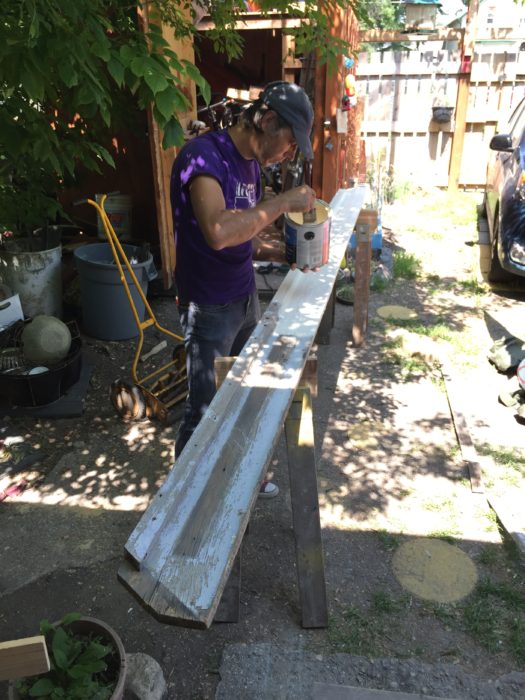
Repainting these 122 year old pieces of wood for the first time in years.
Once the whole roof was complete, we could finally start re-painting the outer walls in earnest. Thus far only the back wall and trim are complete but man does it look good! This transformation makes me so happy. It’s aesthetically pleasing but also represents that this poor old house that was heading towards a sad end and is now been given the care it deserves. I feel the same way when I restore vintage clothing or objects to continue being useful and beautiful.
At long last, the NewOldHouse gets some new hues.

Progress! You might also spot our deck ‘extension’ on the left, and slow progress refinishing the original deck with something more durable.
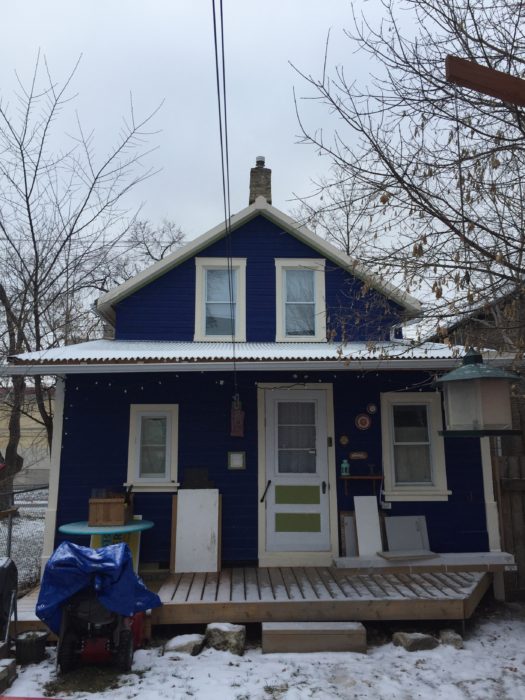
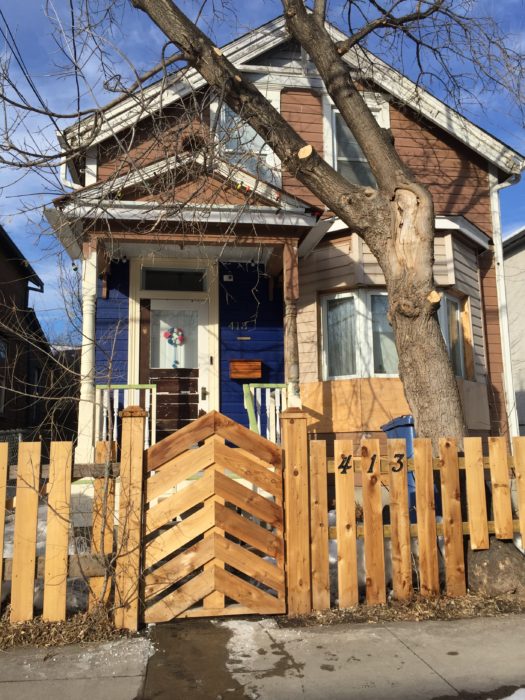
A view of the back of the house with fresh paint and new roof. This was taken in the winter, when the trees were less obstructive.
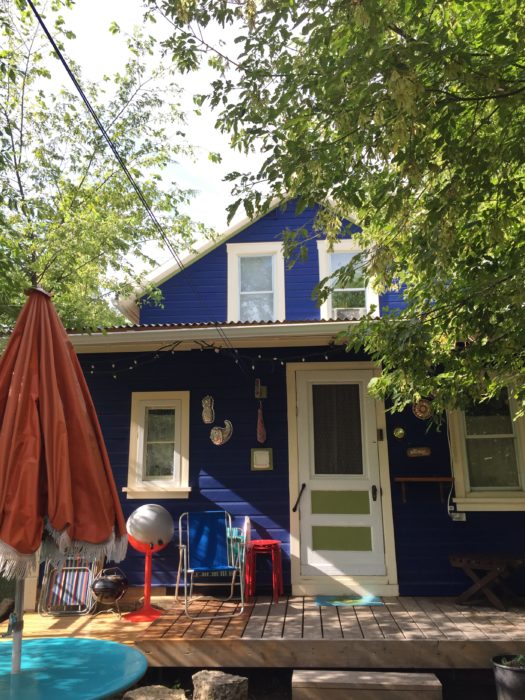
This summer’s back view. Bonus sneak peek at our vintage BBQ restoration…
Thanks for reading another epic post chronicling progress on the NewOldHouse. There are of course more projects to blog about (plus other ventures in my world of theatre and custom sewing), so will attempt to post more frequently. Feel free to comment below if you have questions or requests on future blogs!

Pingback: Kristy
Pingback: Heather Lee Bea
Pingback: Gay Housden
Pingback: Heather Lee Bea