So I’m not dead, just working on a play in a stage management/prop making capacity. Although some of the characters in the play are dead…
Instead of dropping off the face of the blogosphere, I thought I’d share some of my prop projects.
A ‘property’ can describe handheld items or furniture that is used onstage or in a movie. There is generally a department of people in a theatre or on set who find, modify and build these items as required for the story. On a smaller indepentant production this job can be done by one person, or a number of people involved in the production in other capacities.
The tricky part of finding props for a show set in 1828 (and on a budget) is finding items that can pass for the era. Sometimes it’s easy if you can source the materials (like jute rope), but often it requires you to think creatively. There is a world of possibilities if you can tweak, re-cover, breakdown or paint something and transform it into what you want.
My sewing experience often comes in handy for these things. I can ‘dye down’ fabric or other items to give them an aged look, or in this case, add a new cover to a second hand bag to disguise modern features and textiles.
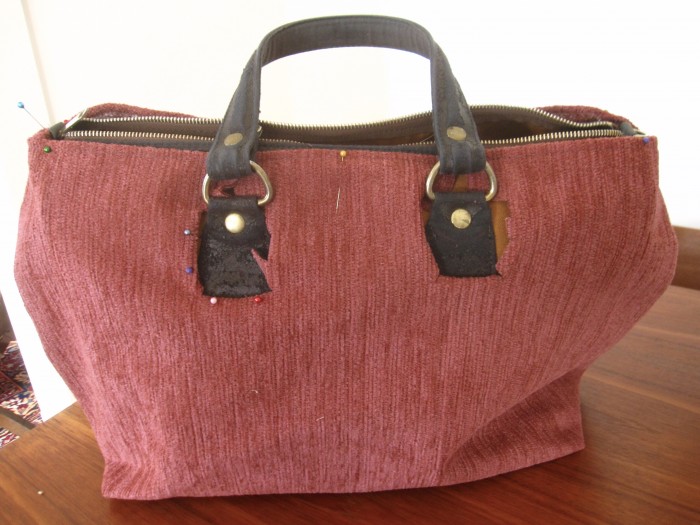
This is the original bag.
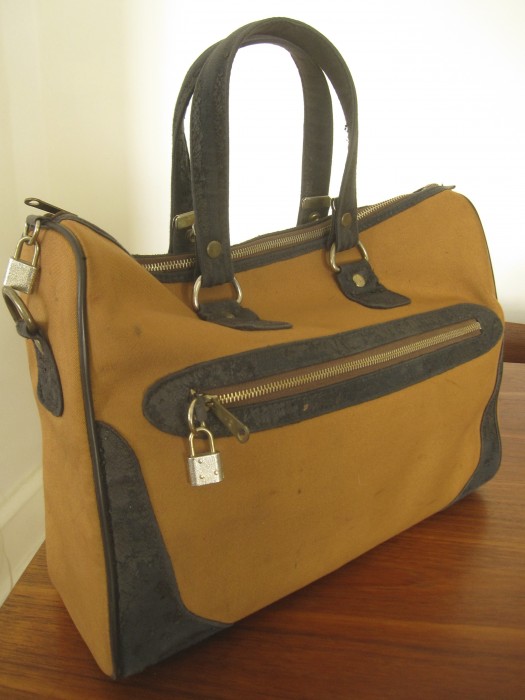
Before: The original thrifted bag.
A good shape for the time period – generally people would have used either trunks or a more unstructured carry-all like this. The handles are great, but it has an obvious zipper on one side and needs some texture.
Enter this chenille upholstery fabric. Also thrifted, it would make a very ugly couch, but will look great on the bag.
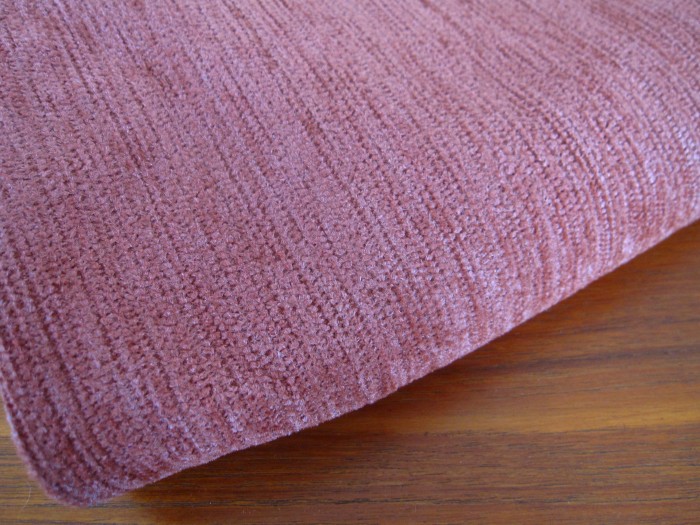
Chenille fabric for the carpet bag. The texture makes it appear different colours depending on the light.
To make the cover, I measured the bag’s dimensions and marked out a rectangle, leaving a good seam allowance on the top edge and enough fabric to wrap around the sides.
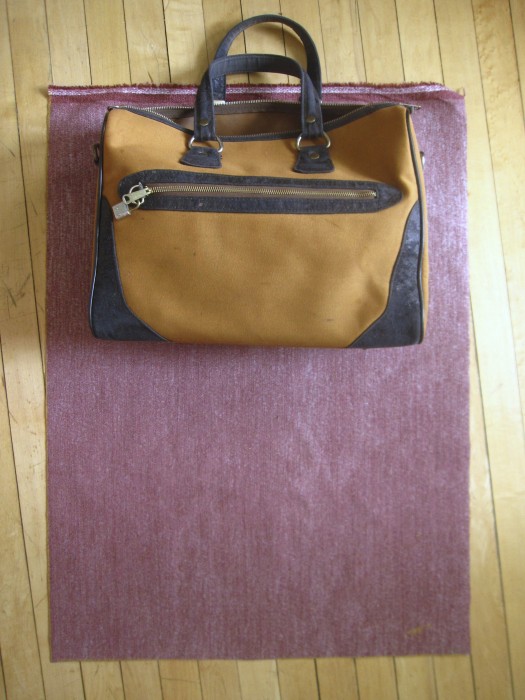
Layout of the fabric around the bag.
The ‘over-bag’ is constructed much the same way as a simple tote bag. Two vertical seams and a cross seam at each corner to give it a squared shape on the bottom.
The top edge is hemmed and the cover is slipped onto the bag and pinned in place. Tucks are made at the top corners to alter the shaping and give some detail. Vertical cuts are made to accommodate the handles.
In Progress: The new cover is clipped to expose the handles and pinned in place.
Since this has a sturdy backing, the edges can be overlapped and tacked on with stitches or glue without hemming. The textured fabric hides the seams well.
The easiest method of attaching is to tack the pleats and hand stitch the fabric to the top edge of the bag. You could glue this, but it means that the bag underneath won’t be salvageable. I like to think about the prop’s future life, and make it easier to reuse if possible.
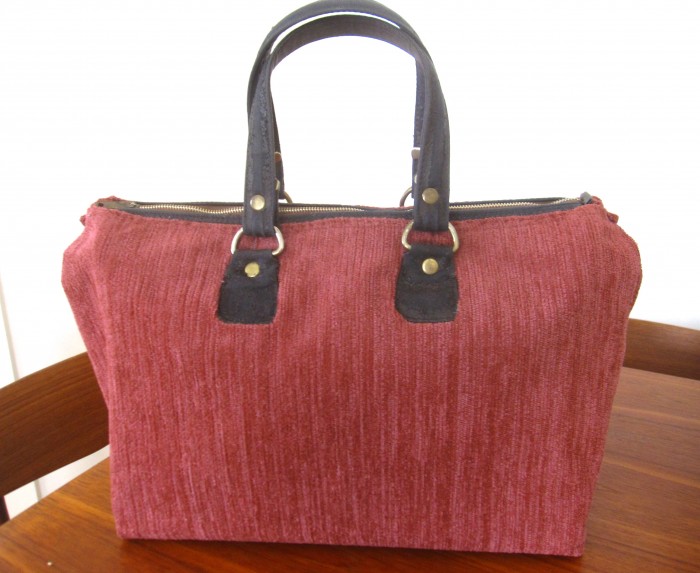
After: Re-covered bag ready for the stage.
If you are in Winnipeg at the end of this month, be sure to check out the show: Bloodless: The Trial of Burke & Hare running April 24th – May 4th 2013. for more information and tickets: http://whiterabbitproductions.ca
Stay tuned for more prop fun, and eventually some sewing projects too!
Love Heather