A client recently requested that I shorten the sleeves on a faux leather jacket. In all, I needed to remove about 3″ from the length. Making these sorts of alterations on a lined garment presents some challenges. Since the original construction of the jacket involved stitching the lining to the cuff before the rest of the lining was attached, it is often tricky to modify the cuff and maintain a somewhat original finish. With most alterations of this nature, my goal is always to leave the least sign that I’ve done something. Too often I see botched jobs where care has not been taken to preserve original finishing.
A visual look at the steps involved:
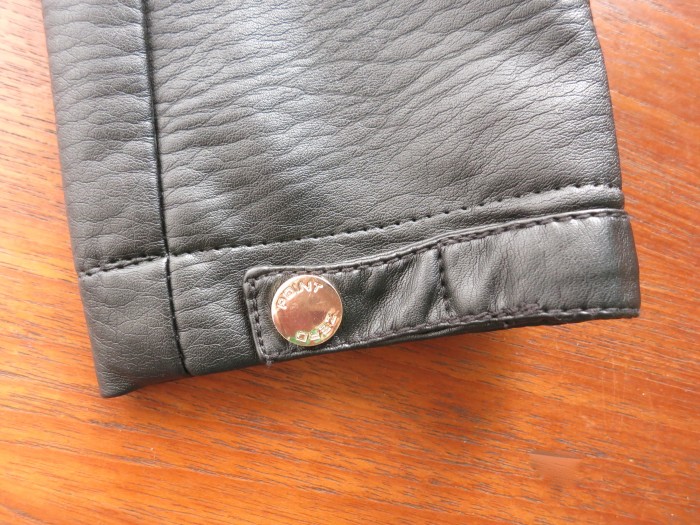
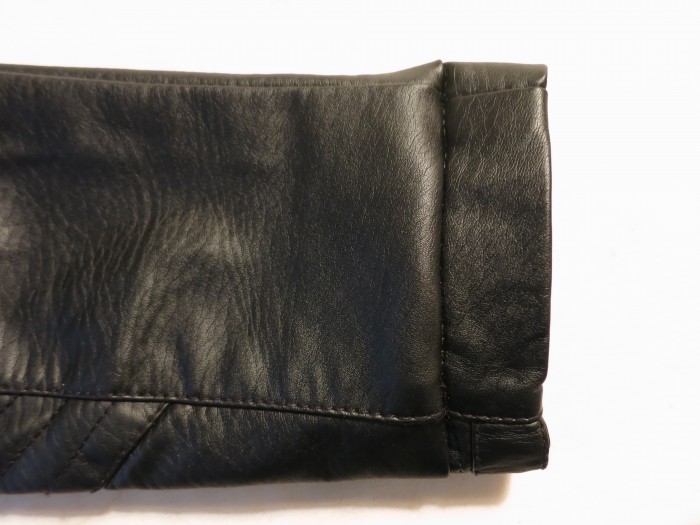
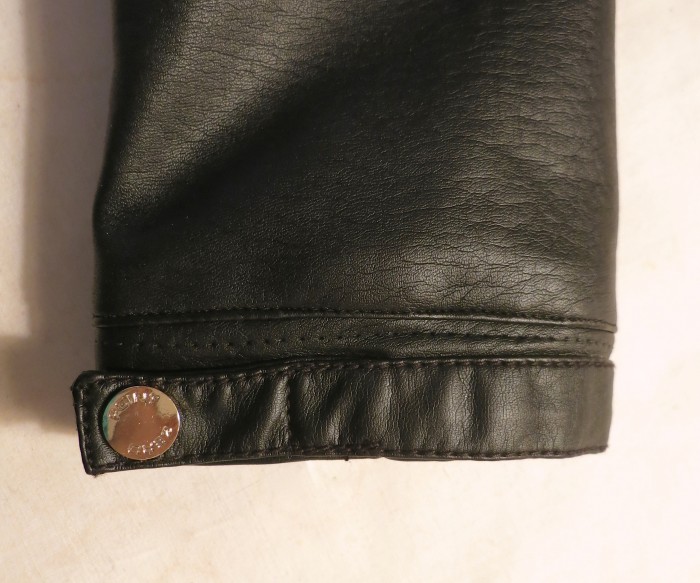
Original cuff.
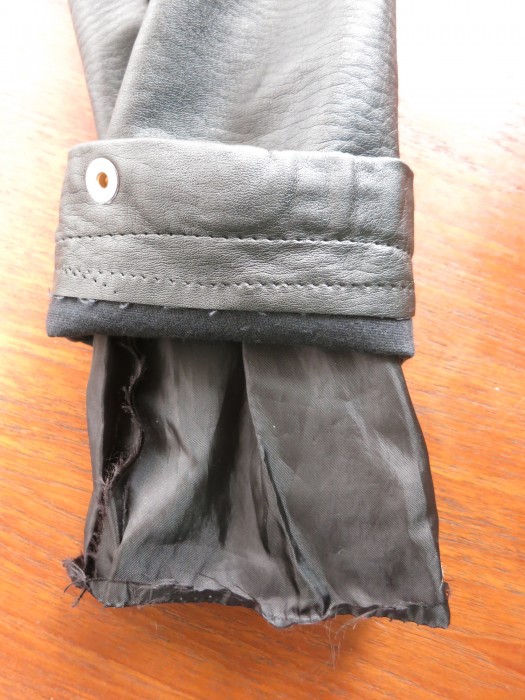
Top stitching and lining removed.
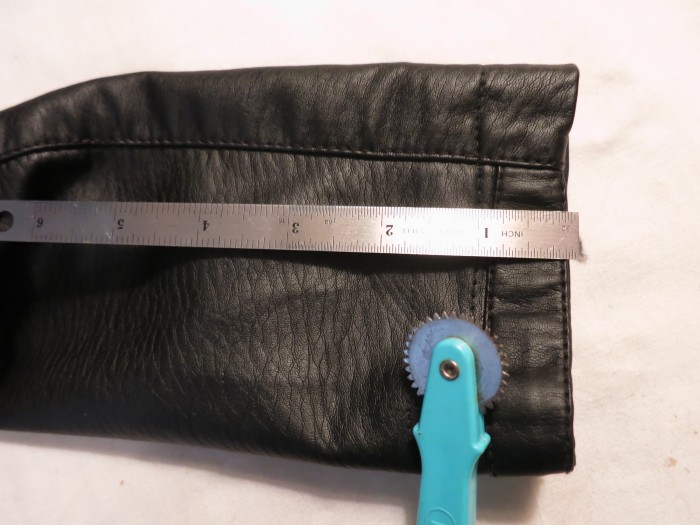
Calculations: Total to be removed – Seam allowances, Cuff + seam allowance = Where to cut
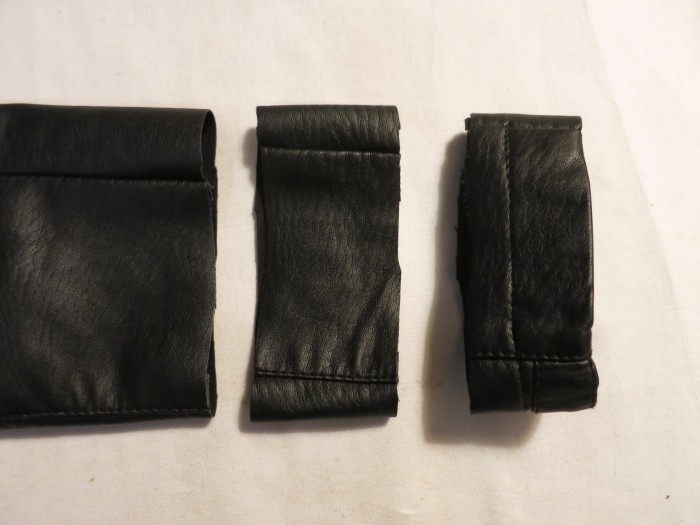
Chopped sleeve. Middle section to be removed.
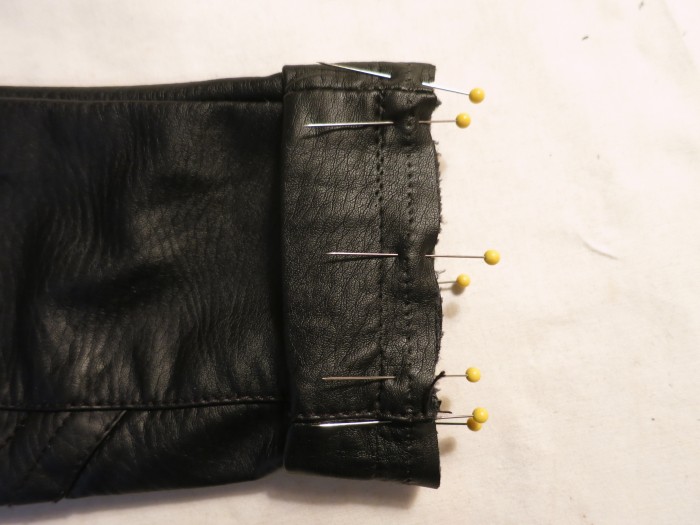
Cuff pinned to shorter sleeve.
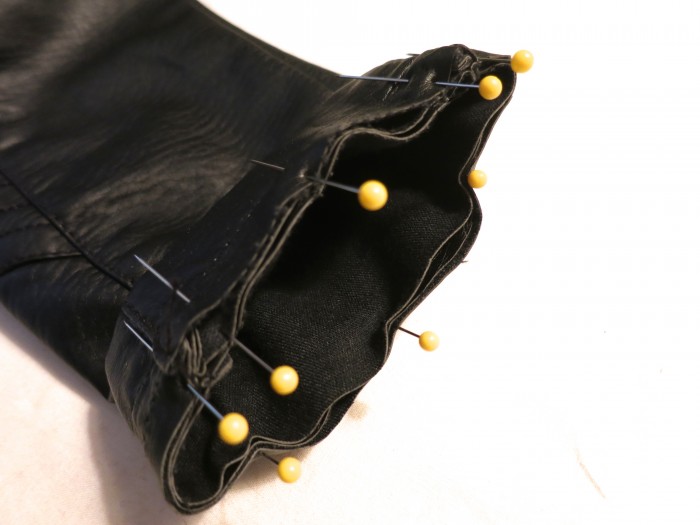
Make sure that lining is well away from seam area.
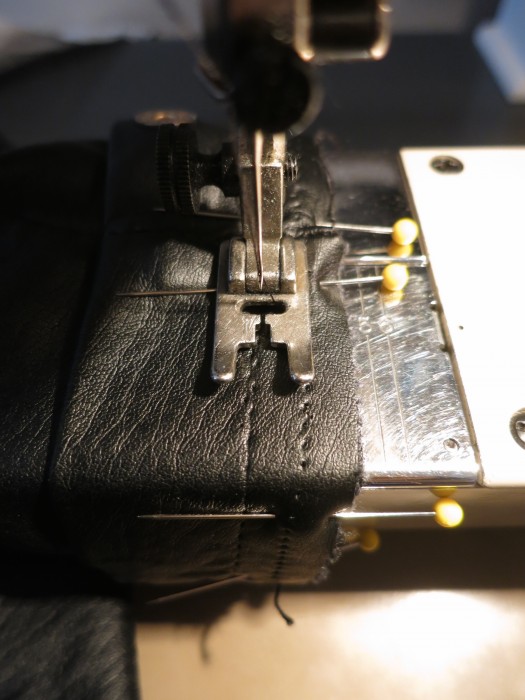
Leather needle and patience.
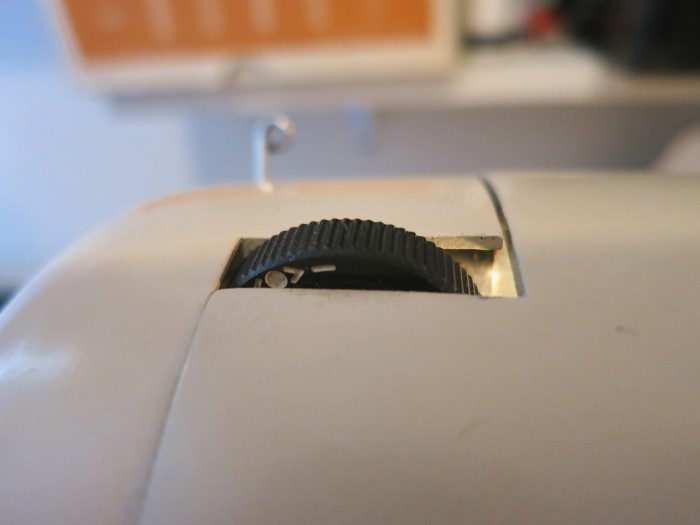
Thicker layers = more foot pressure.
After stitching the new seam.
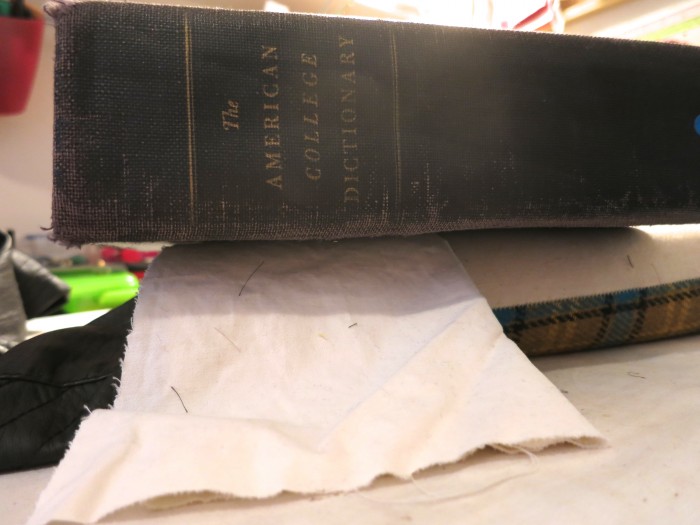
Flattening the new seam with a little heat and some weight.

Lining pinned back to the cuff after removing a little length.
Topstitched through all the layers and lining to finish.
Part of what I love about my job(s) is the feeling of Ah-ha! when you’ve reverse engineered a project and achieved an end product that looks good and functions as intended. Not to mention when I can make something more flattering/useful/awesome than it was and make my clients happy….
~ Heather