
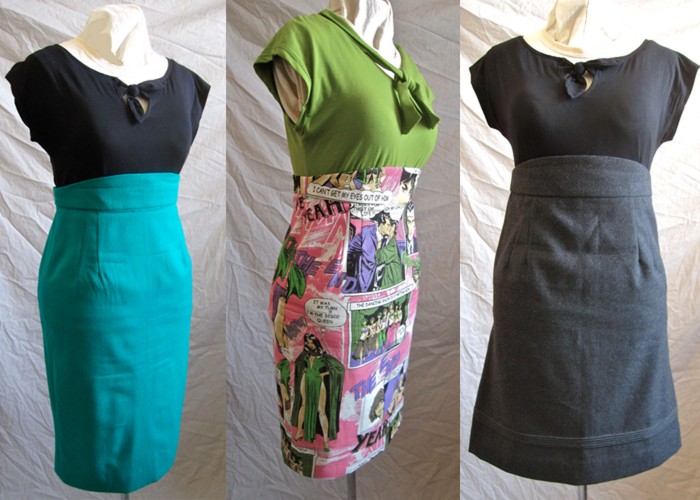
Gertie’s Pencil Skirt x3
Like many lucky sewists this past holiday season, I received a copy of Gertie’s New Book of Better Sewing. It happens that my birthday is very close to another big holiday in December, so it was in fact a birthday gift.
It had been some time since I had actually been able to make anything for myself, so after my contracts were done in January, I decided to start with the Pencil Skirt pattern.
Using just my waist and hip measurements, I traced out the pattern on what I had on hand (this was post gift wrap madness after all) and used some tissue paper. I figured I could use it at least once and make any adjustments before copying to a more permanent material. I had to grade between 2 sizes (the usual case with almost everyone) but was pleasantly surprised to find I did not have to do ANY additional alterations to my skirt! This sort of thing never happens to me. I have had terrible luck with ready made patterns – I always need to make lots of little fiddly changes to make it fit me.
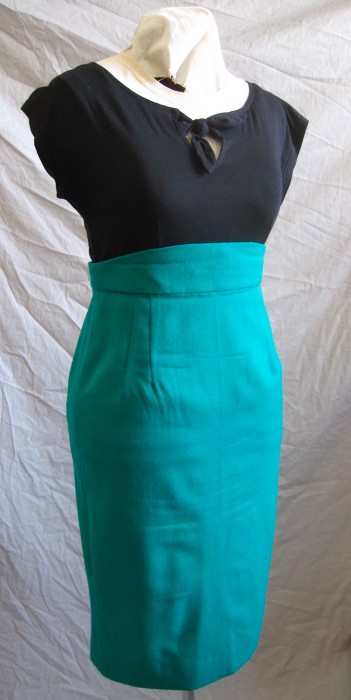
Version #1: Teal Wool
The first version of the skirt was made with a lovely teal wool suiting (technically unlabeled, but feels and acts pretty wool-y!). This fabric was a donation from a friend of my mother’s. The friend’s mother had been a home sewer and recently passed away, leaving her sizable stash of fabric and sewing supplies. A lot of the fabric was from the 1970s (gross polyesters) but there were a few gems in the pile. The suiting had been carefully rolled onto a cardboard tube and labeled with the yardage.
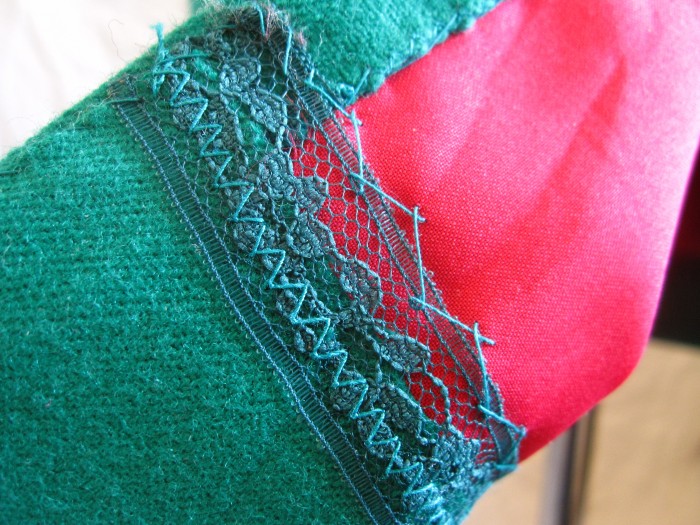
lining and hem detail
Again using the ‘use what you have’ philosophy, and my love of fun linings, I used some left over hot pink matte lining fabric.
Since it’s such a narrow skirt, you really can’t see it anyway except for small flashes.
In unusal fashion for me, I had time to hand stitch the waistband facing and hem. Although time consuming, I kind of like to hand finish things when I can. It’s relaxing to do a simple stitch while listening to a podcast or watching TV.
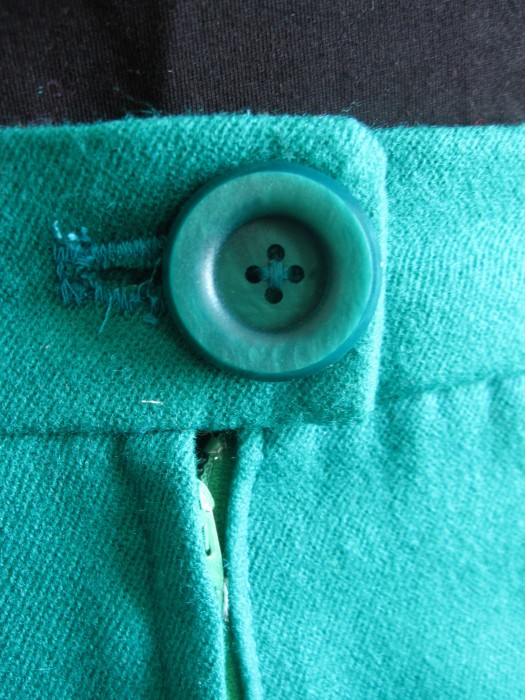
a lonely teal button finds a good home!
To finish it off, I used some vintage teal lace hem tape I had on hand and the perfect button… It had been hanging around in a jar on my shelf for months/years. Often when I go thrifting I pick up interesting single buttons and now I have the perfect use for them – cute skirt fastenings! Side note: my lovely automatic buttonholer decided not to work for me so I ended up doing a rush job and making do with a manual zigzag – not the prettiest result, but functional. One day I might go back and fix it, but for now it works!
The second version of this skirt was intended to be worn to a family diner, but was put in the naughty corner after a late night sewing session turned into ‘all the things that can go wrong when you are trying to finish something in time’. It was/is the first of my suiting stash busting endeavours. My recent sewing room overhaul uncovered my many pieces of lovely material I needed to do something with. I chose a pretty modest (for me) charcoal grey, lighter weight suiting that again, I’m certain is at least partly wool. I figured that something a little more subtle and easier to co-ordinate in my wardrobe would be wise, and I wanted to try out my newfound pintuck foot for the Elna. One of the Pencil Skirt variations in Gertie’s book uses pintucks as a decorative accent just above the hem. If I’m making something otherwise quite plain, it should have some interesting detail!
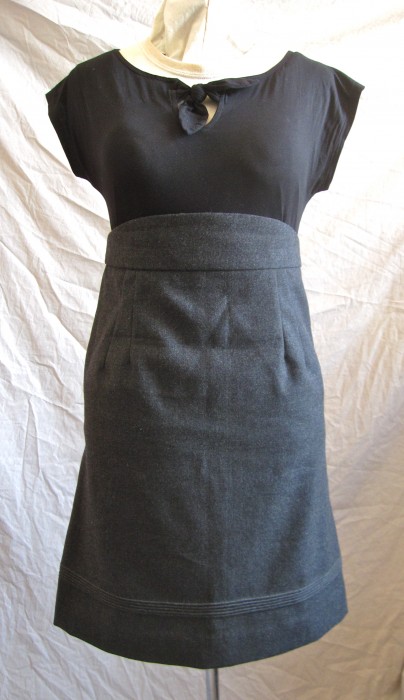
Version #2: Grey wooly suiting
This version has a bit of flare added from hip to hem, and is shortened by 3″. This negated the need for a vent in the back.
After a suitable ‘cooling off’ period, I tackled finishing it again – this time slow and steady with less deadline pressure. Once my machine was set up properly and oiled well, the pintucking went smoothly, and to honest it’s a little addictive. The first row takes the most attention, then you just guide it through the little grooves in the pintuck foot and it makes parallel tucks all lovely side by side.
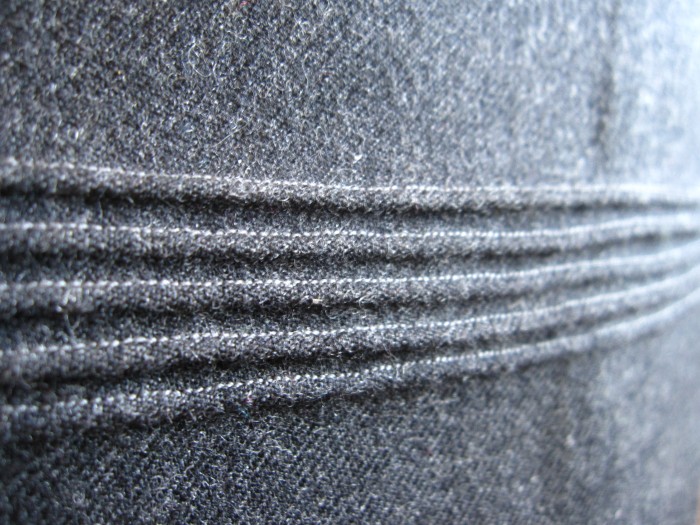
Pin tucks made with my 1960s Elna Supermatic – twin needle clamp and a pin tuck foot.
Keeping with the subtle but fun theme, I did a hanging lining in periwinkle and a lilac lace hem tape.
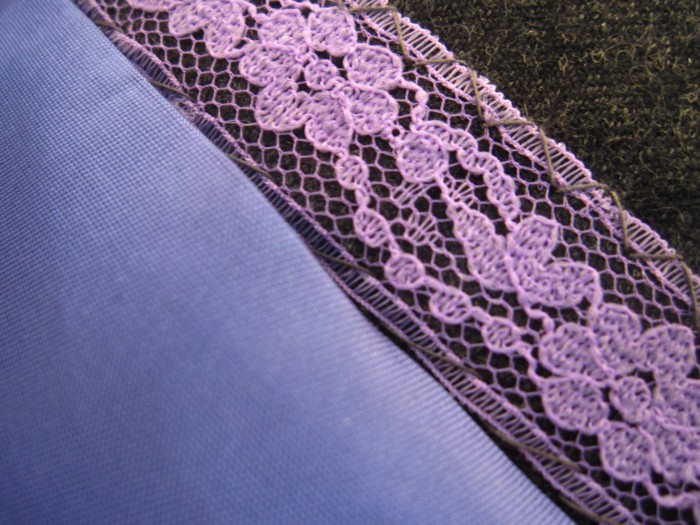
Lining and hem tape on the grey wool Gertie’s Pencil Skirt
The only problem with this version is – in my haste to finish it I accidentally did the button/buttonhole reversed. Really no one but me would notice, but it’s funny how it poses a co-ordination issue when trying to do it up behind you. We don’t realize how automatic these motions are, and how we take for granted that the fastenings on our clothes will be where we expect.
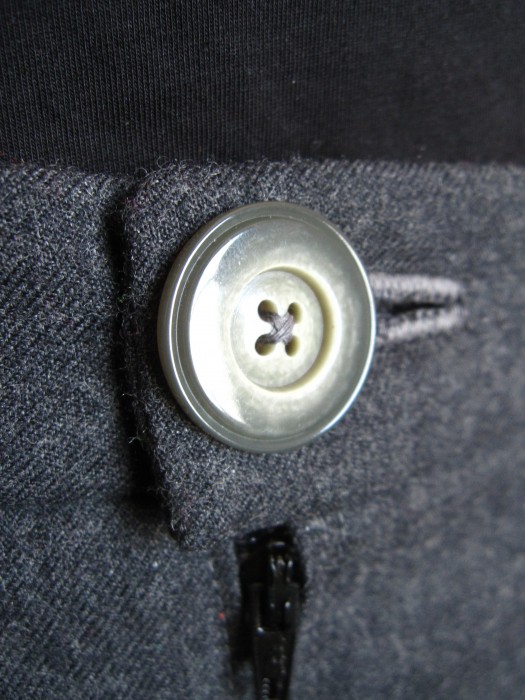
A beautiful button on the wrong side…
Skirt #3 went together in the day (- a 4 hour rehearsal I had in the afternoon) of an evening dance party. I used a fabric from my stash that had previously been used to make bags, including a messenger bag I carried for years. It’s a twill with a slight one way stretch, and hilarious bad translations.
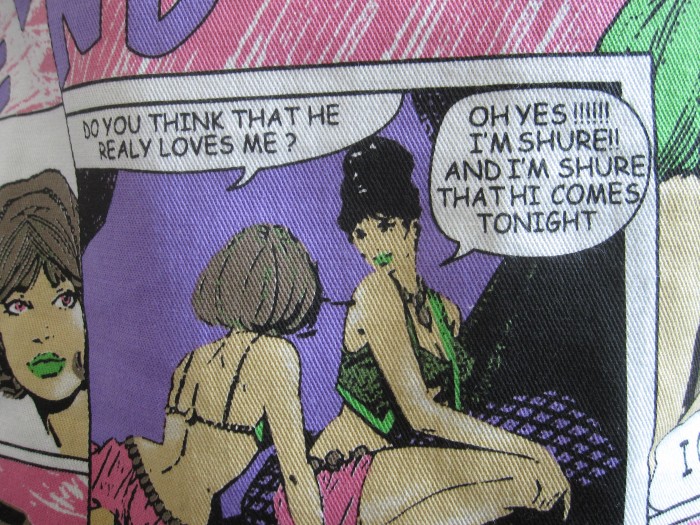
Bad translations on twill….
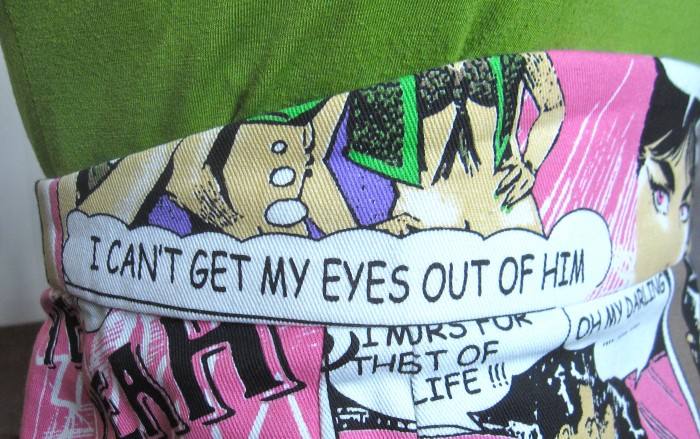
Bad translations on twill….
The hard part was deciding on the placement of the panels and which to include.
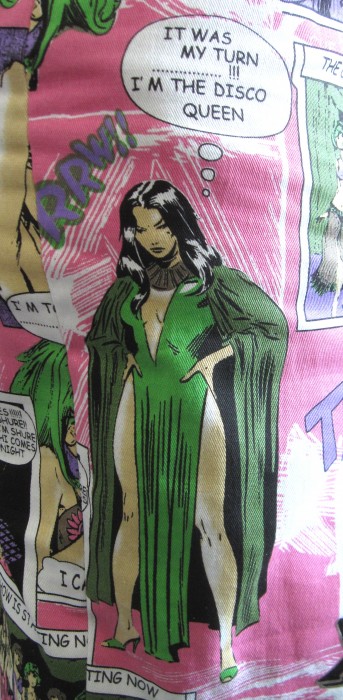
My favourite character on the fabric!
Mods: I shortened the length at the hem by 3 ” but kept a short slit in the back to accommodate movement.
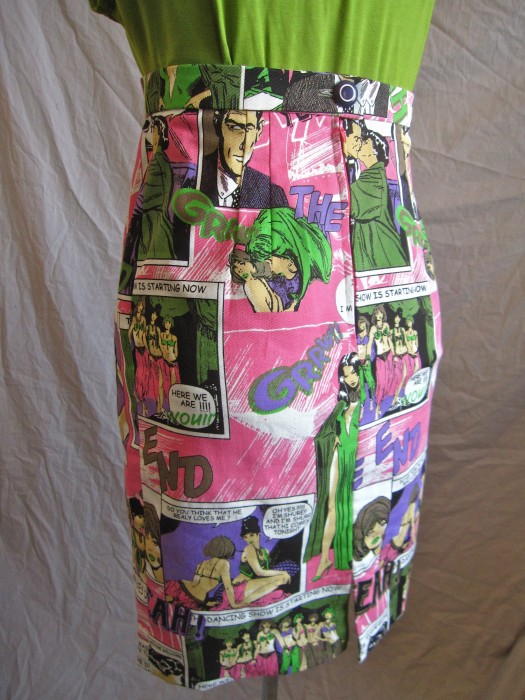
Back view.
I lined it with green broadcloth that the original bags had also been lined in. This gave it lots of structure – a skirt and support garment in one! To simplify construction, I serged the lining and outer panels around the edges, then made darts through both layers. Since this was a very non-traditional version of the pattern, I was ok modifying the construction techniques. I still hand stitched the waistband facing and hem.
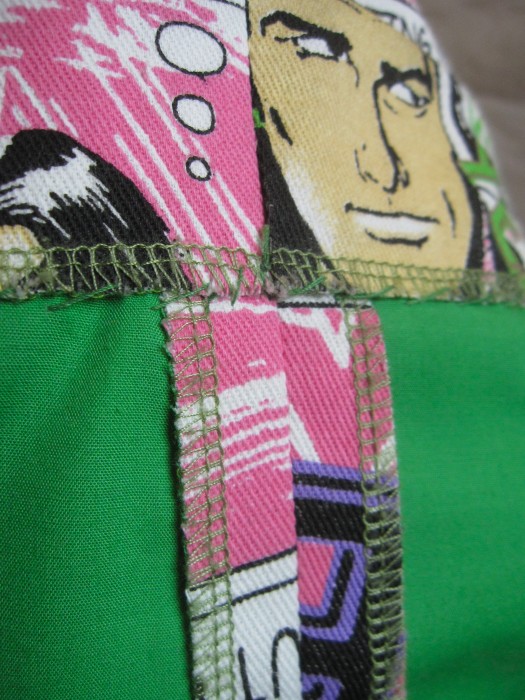
Inside detail. Upside down hem and side seam
The back button was a fun purple and white shank style that matched the purple in the fabric pattern. This one was on the correct side!
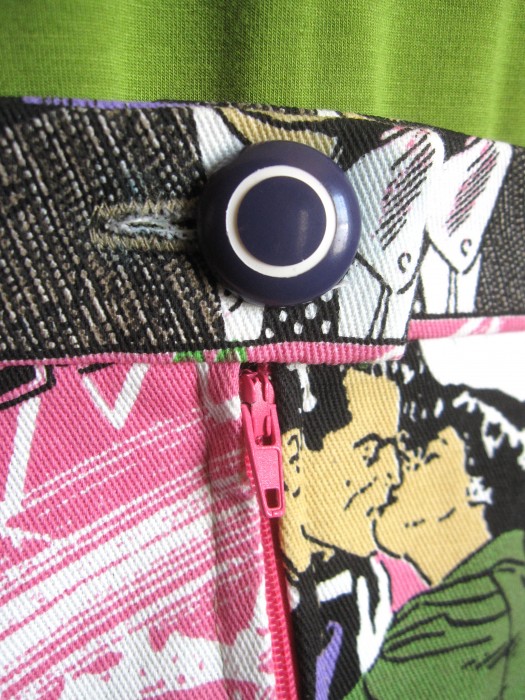
Back button closure with matching fabric pattern.
To complete the outfit, I wore a green rayon/cotton t-shirt blouse I’d made to go with the grey skirt, and made a long sleeved shrug from the rest of that same fabric (the shirt fabric had been dyed a slightly darker shade for another project, so they don’t completely match (that’s a good thing in this case).

The complete outfit – I wore this to a dance party and got a few compliments on the skirt!
Even after dancing the night away, this outfit was still comfortable. The poly-cotton lining made the skirt breathable.
Aside from the above mentioned changes to the individual skirts, I used a very thick non-woven interfacing sewn on the waistband pieces before assembling them. This was quicker and a little less structured than the boning suggested in the book, but still give the waistband some support. If I were making this a more formal garment or using a less structured fabric, the boning might be worth it.
I would definitely make this pattern again, but I’m also excited to make up some of the other patterns in the book – I need more ‘nice’ clothes in my wardrobe, and some summer dresses!
Hopefully more things for me in the near future…
Love Heather


Pingback: Morrigan
Pingback: Heather Lee Bea