
More of the work leading up to moving in. See Intro and Part 1 to see more.
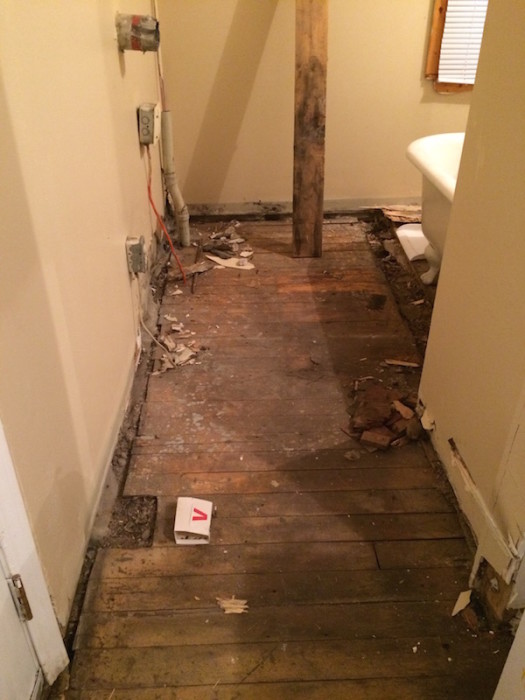
The entire plumbing system (which thankfully is contained within a small radius on the main floor) had to be rebuilt due to Slappy installation and the kitchen/bathroom re-do. We once again did the work ourselves after lots of research and had it checked by a professional. This also involved scoring a proper clawfoot tub for a song (and saving it from the landfill) on a hot tip from an acquaintance. The ugly surround tub, it’s mini wall, and the leaking toilet were removed. Actually, the toilet was re-installed once, then replaced and moved to the corner where the vanity was. The bathroom floor was pretty crazy. Many layers, repairs, mysterious holes, rotten wood et al had to be dealt with. The toilet that came with the house had overflowed multiple times and we could not seem to find the issue (suspected kid’s toy flushed and stuck somewhere). The water had then repeatedly sat under the linoleum and rotted parts of the floors below. Once the really far gone parts had been ripped out, the floor was made level and sealed plywood installed over the crazy puzzle underneath. It’s now solid and clean and is a good base should we decide to put something else over it. Again, it was functional but not pretty before the move.
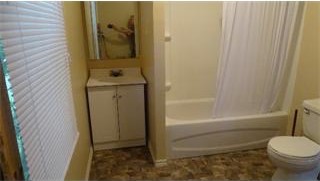
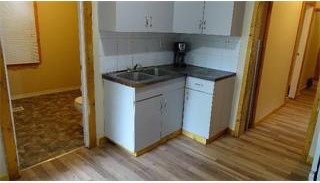
Real Estate Pics: Bathroom ~ Before
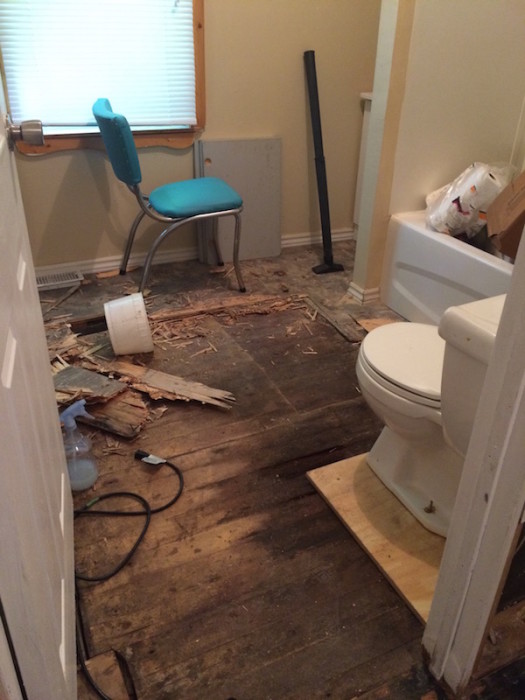
Pacific Avenue: Bathroom ~ In Progress. So many floors, so much water damage.
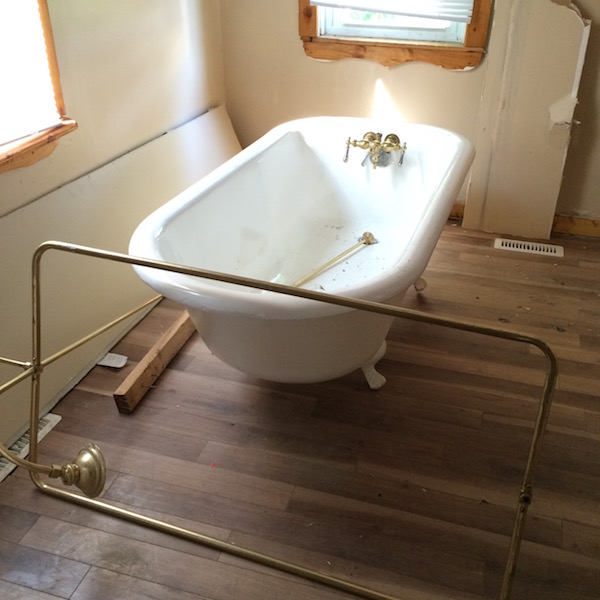
Saved this beauty from the scrap heap (including some used but still awesome repro hardware).
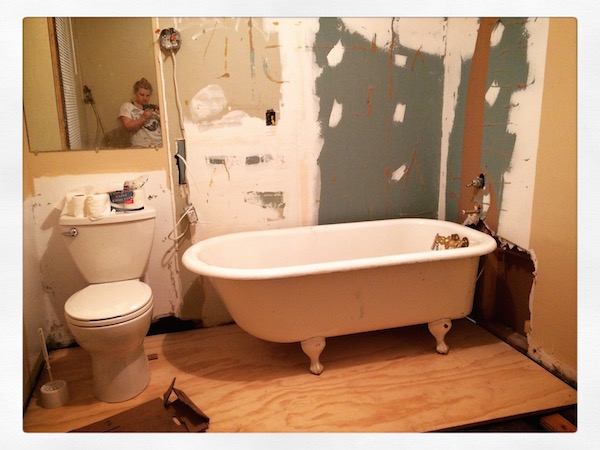
Bathroom still in progress, but would have to be finished after moving in. Vanity mirror over the toilet and beat up drywall style.
The kitchen also had to be completely gutted. I’m not one for those splashy, braggy kitchen makeovers. This one had to happen because everything was in a weird spot, hideous, gross and/or not installed correctly. In order to make room for a corner counter unit with a double sink, the fridge had been moved into an opening BEHIND the back door. This means that there were dents in the fridge door from the knob hitting it repeatedly. Also this meant that the back end of the fridge stuck into the bathroom without anything blocking it. You could see into the bathroom from the fridge… At first we thought they had cut the opening for the fridge, but excavation in the bathroom floor provided clues that originally there was a narrow room (probably a pantry) with a door in that location.
Real Estate Pics: Kitchen ~ Before
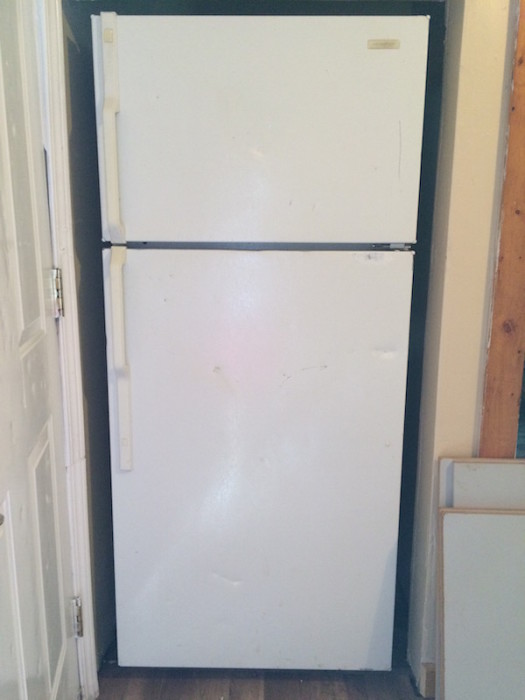
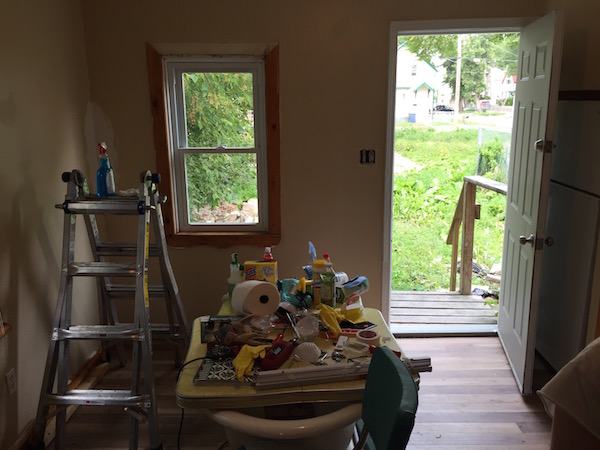
The old behind the door fridge… the back door is on the left.
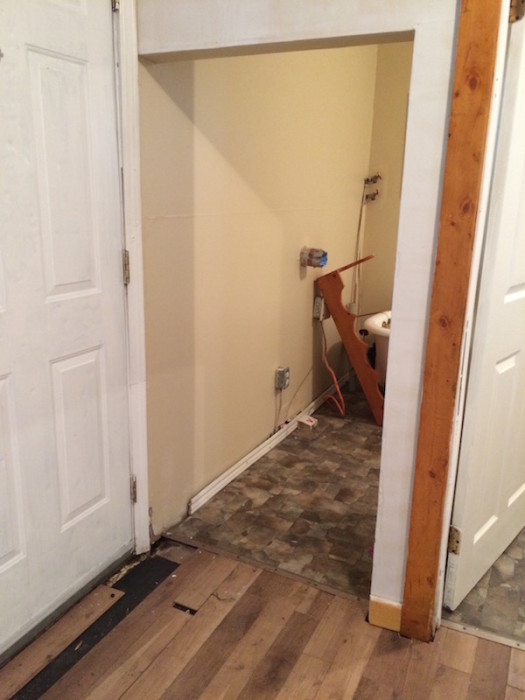
The opening into the bathroom where the fridge was. There is also a window in the outside wall that has been sealed up. We plan to put it back!
Looking thru the fridge opening into the bathroom with some of the flooring removed. Looks like this was originally a doorway to a small room – probably the pantry.
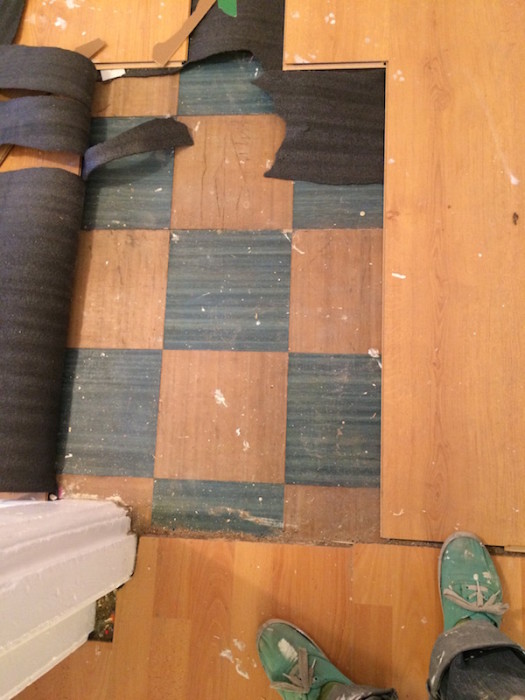
Under the newer laminate were c.1950s tiles (unfortunately too far gone to save). Under the plywood they had been glued to was a c. 1930s painted wood floor. It needed some love in a couple spots but otherwise wasn’t too bad so we kept it.
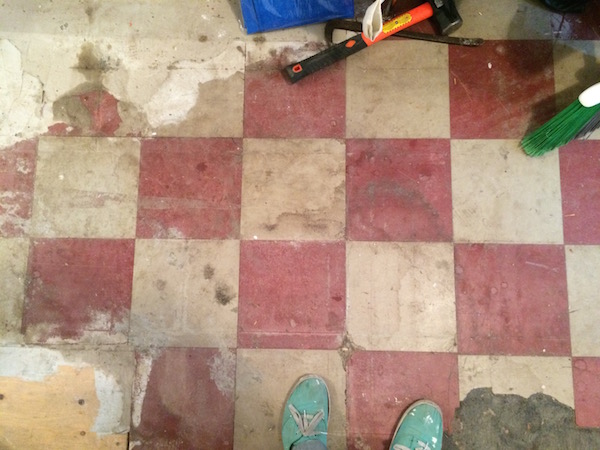
One of the kitchen floors.
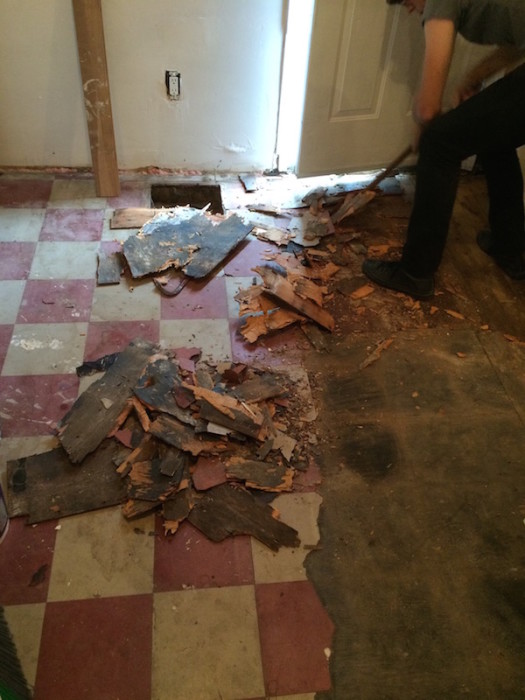
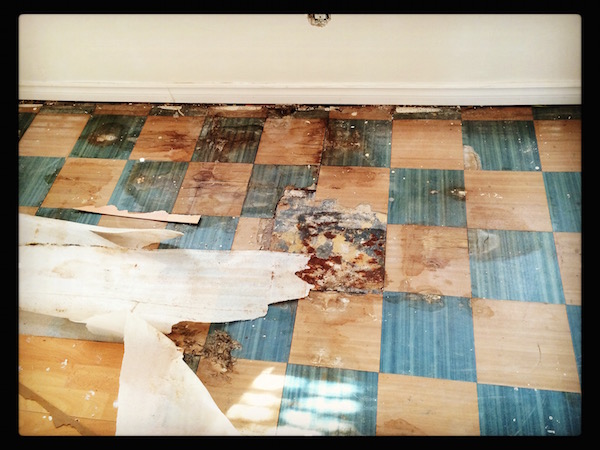
The tile was too damaged to keep but luckily had been glued to a subfloor so it came up pretty easily.
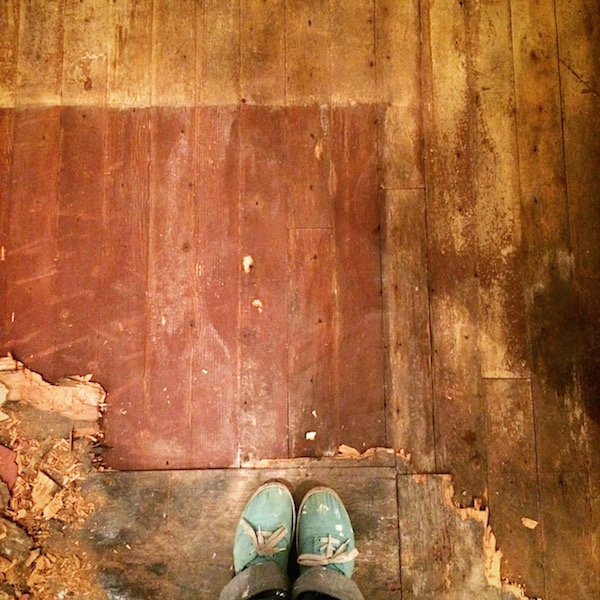
Under the kitchen tiled floor was this c. 1930s painted wood with a border of pale yellow and burgundy in the middle.
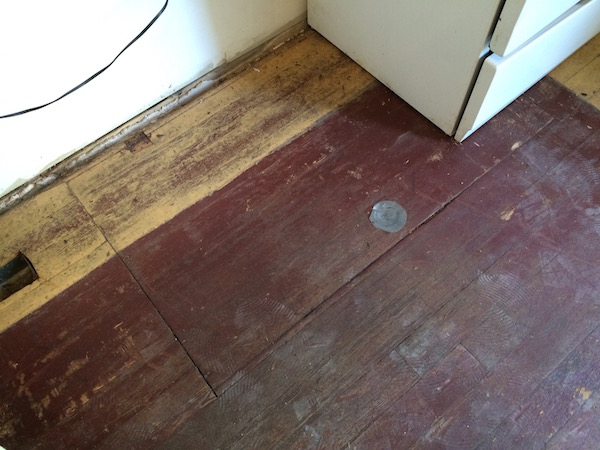
The trap door in the c.1930s floor go to the basement. this might date back to when the basement was dug out/ the original way to access the cellar.
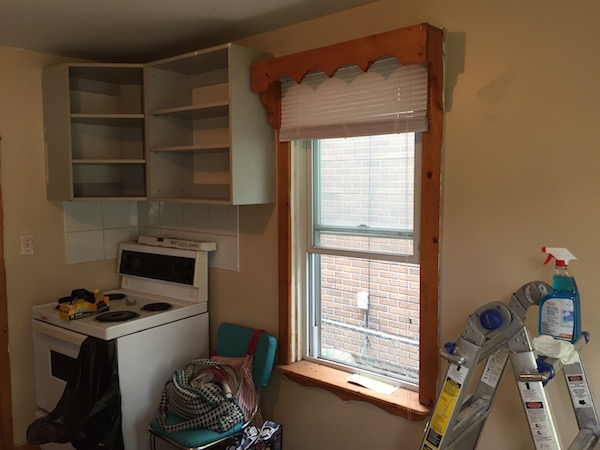
The kitchen also contained 80s grey laminate cupboards (never cleaned) that imposed on the room (which is not that big). Someone in the house’s past (likely the gentleman who was a long term resident) seemed to be a woodworker. Above many of the windows were wooden valences that matched the honey coloured wooden window frames. They also intruded into the room and were too heavy for the space. When it came to removing the counter unit, cupboards and valances, they gave us a fight. In true Slappy fashion, several types of screws and nails were used to secure things to the wall and caused several choice curse words…
Category is: unwashed…
Pointy wood and the knick knack shelf that was in every room.
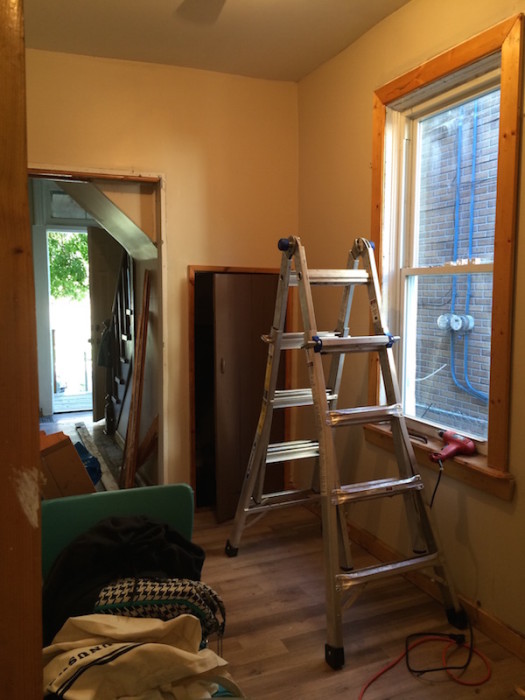
In Progress: Valences removed and door fridge still in effect.

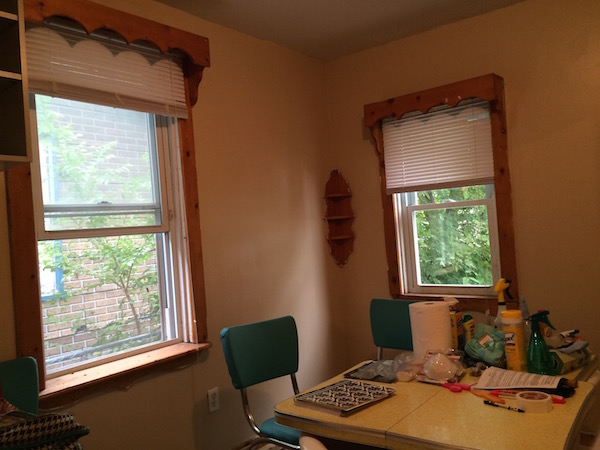
In Progress: Window frames removed, walls transitioning from beige to white. Garbage bag curtain realness.
The windows end fairly low so are not conducive to long countertops. We had to come up with some creative solutions to storage and workspace. Sometimes (often) this kept me awake at night.
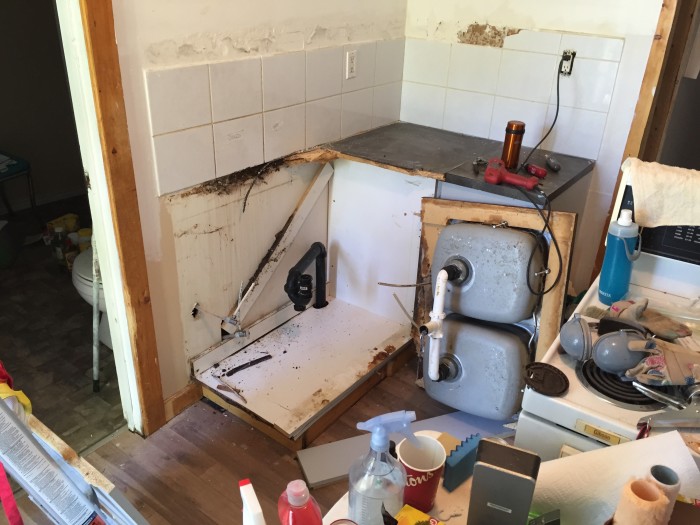
The entire cabinet and sink were ripped out, followed by the tiled floor. The top row of the tile backsplash around the sink and stove were removed to allow for lower shelves.
Bye Felicia!
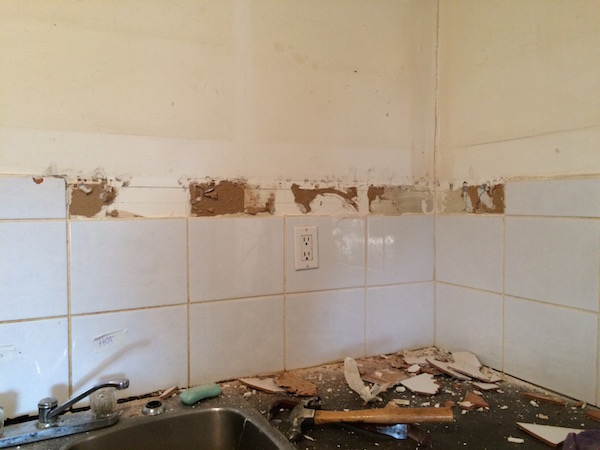
Half tile on the top removed for aesthetics and shelves.
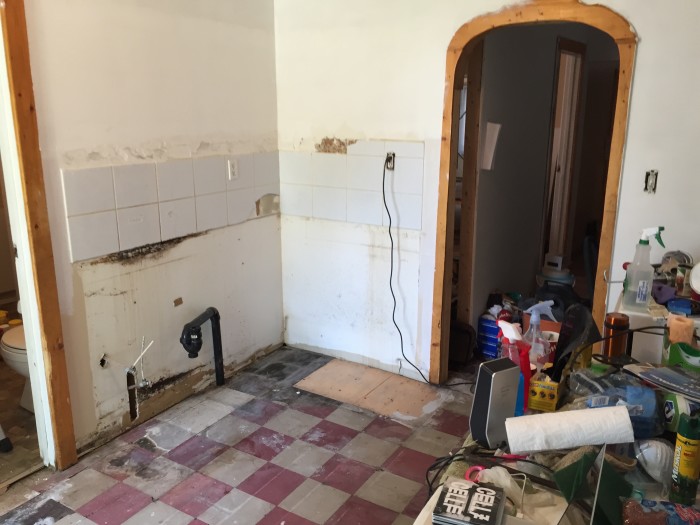
Sink and cupboards removed. Tile floor uncovered.
A new fridge was installed in the only corner it could go, with a single sink next to it in an oak countertop (all Ikea). Since there isn’t much room next to the sink, I had the genius idea to install a sliding pantry shelf on the side of the sink cabinet which is our dish rack. A boot tray underneath protects the floor and can be removed to wash.
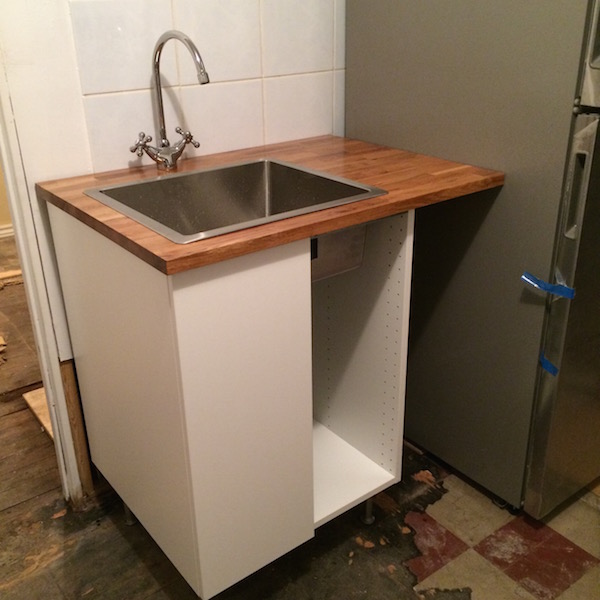
New sink and fridge test fit.
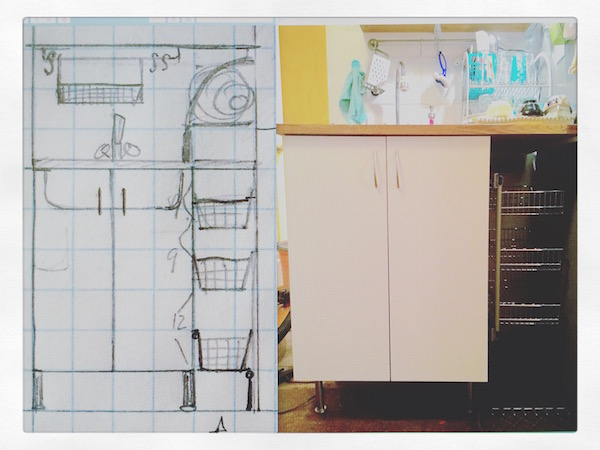
Scale drawing and installed sink cabinet with dish rack under counter.
Between the kitchen and front hall is a funny wide hall area with a window and the basement door. It too had the pointy wood valence theme (removed in the pic below).
The odd hall bit. We now refer it as the Pantry.
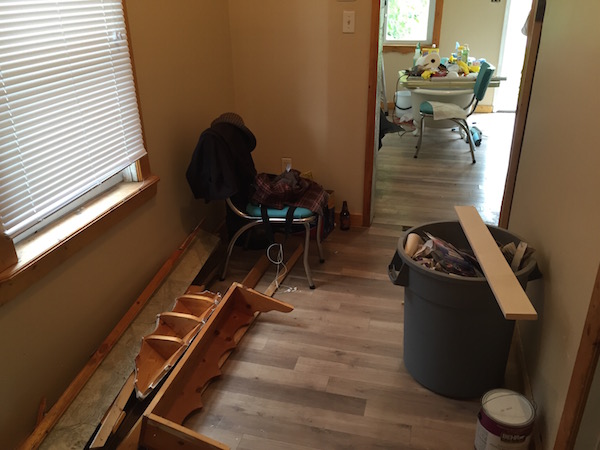
Pantry Hall from the other angle. Bathtub kitchen table in the distance.
The basement door was a little short. We have deduced that it was made from the floor under the stairs that was cut out to install the current basement stairs. Originally this house would have had a fieldstone foundation and was not full height. More of a cellar. Sometime in the 1920s or 1930s it was dug out deeper and the foundation cladded onto with cement to support it.
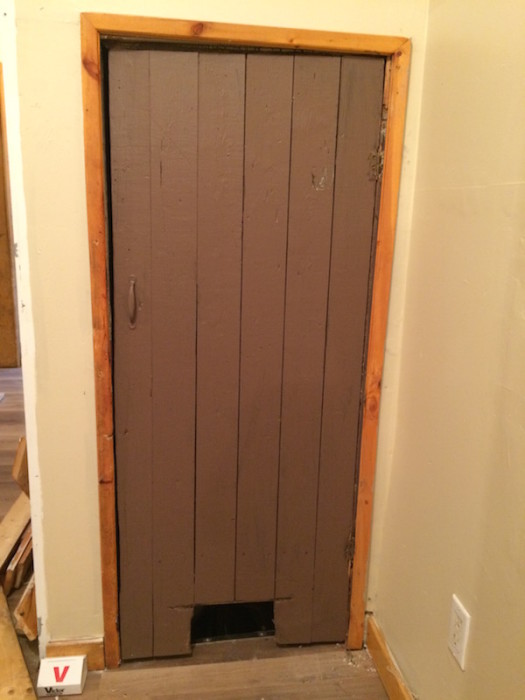
Basement door made of old floorboards.
Above the basement stairs was a small plastered section of ceiling (no pics of this). It looked liked it was about to come down and probably full of garbage, so while Leif was out of town I enlisted his brother to help pull it down. Along with lots of dirt and mouse nest/mummified mice where incredibly well preserved treasures from previous tenants. This was a nice surprise since pretty much all of the historical details of the house had been ripped out. Also a nice positive moment in the generally tough time I’d been having during the process.
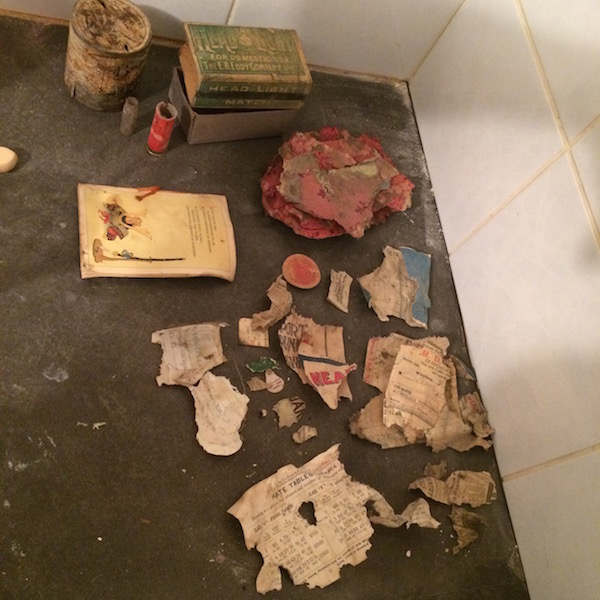
Treasures found under the stairs. Lots of paper fragments and a bunch of old grocery receipts! Not pictured: bunches of Pokemon cards.
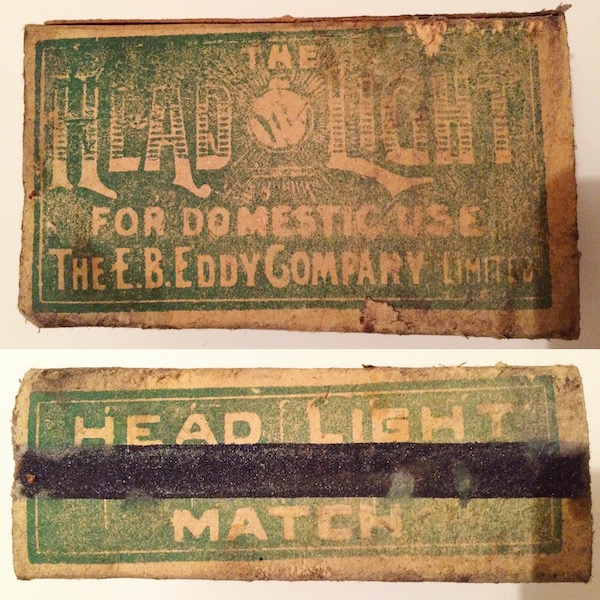
Head Light Matchbox surprisingly intact despite mice.
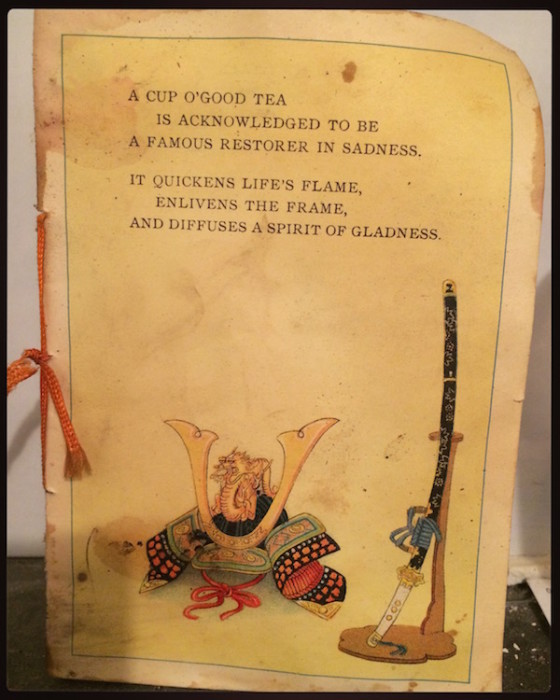
A little booklet all about tea!
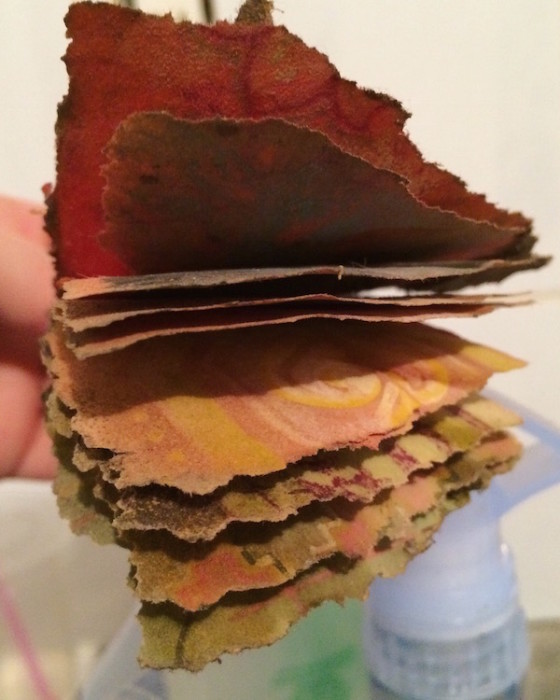
A section of wallpaper layers from earlier than the ones found on the chimney. Some of the designs are amazing and the colours are pretty vibrant.
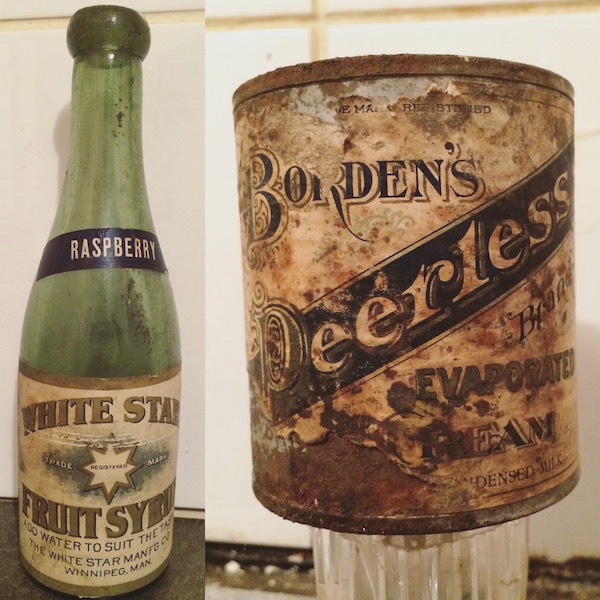
White Star Fruit Syrup bottle made in Winnipeg and a Borden’s Peerless condensed milk tin.
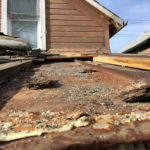
While working on the house, there was a period of rain that lasted about 72 hours. The front street looked like this: 
Which made the basement look like this:
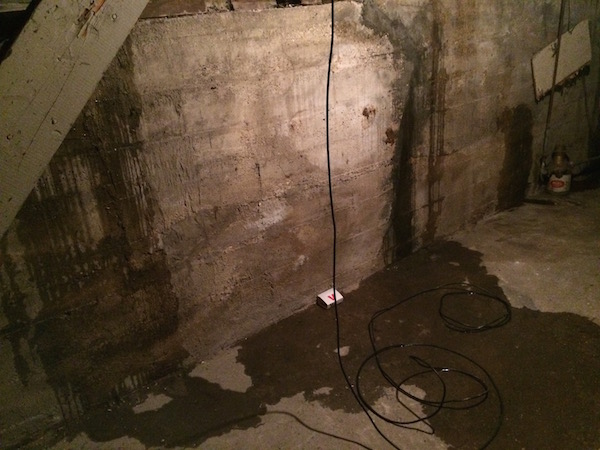
Drainage neglect = bad times. Don’t worry, that cable isn’t live!
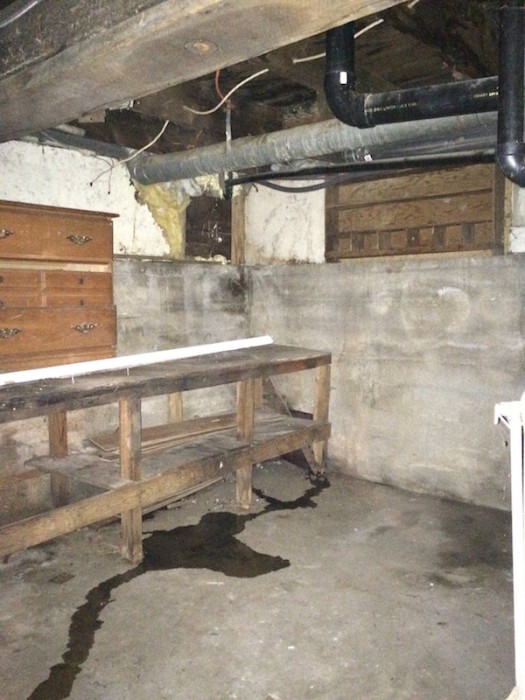
Leaky times and assorted fixtures that came with the house. You can also see the cement ‘shelf’ where the foundation has been cladded for support of the deeper basement.
It was a bit concerning, but happily was fixed mainly by simple actions like filling holes, banking earth beside the house, clearing the gutters (trees were growing out of them) and re-installing drainpipes that directed water away from the foundation instead of going straight down. It’s amazing what a difference is made by simple maintenance procedures!
In addition to the major items to attend to on the main floor, I made it my mission to make the second floor (containing 3 small bedrooms) a landing place. Some generous family members and friends and solo slogging into the wee hours got it scrubbed, walls painted, and the laminate floors ripped up. Someone (presumably the realtor) had put plug in air ‘fresheners’ in every room. Once we started investigating more, we discovered they were there to cover the smell of stale urine where humans and/or animals had used the floor as a toilet upstairs and it was sitting between the current flooring and the older stuff underneath. We planned to pull up the laminate floor anyways in hopes of something older and cooler beneath it but now it was going to leave sooner than later.
Real Estate Pics: Master Bedroom ~ Before
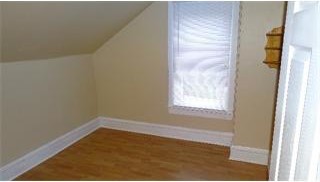
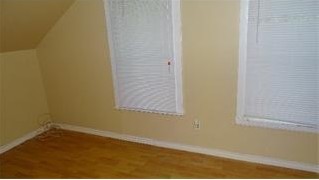
One of the upstairs rooms that would become my sewing studio. #knickknackshelf
Sadly, the floor under it was damaged 1950s tile glued to the original floor, which can be removed but it’s a major and slow process that wasn’t in the cards during our time crunch. Solution: my mother did some research and found out the way to get the smell out/disinfect things was to use hydrogen peroxide. It neutralizes the odour when left to do it’s thing under some plastic. As you may know, most hydrogen peroxide only comes in tiny bottles and we were going to need lots, so Mom special ordered a 4L jug from the pharmacy! We did a initial major scrub with soap and water first, then several applications of the peroxide and even my sensitive nose cannot catch a whiff of the old floor smell.
Upstairs flooring discoveries.
Damaged tile under the laminate in the upstairs bedrooms. So much scrubbing! You can sort of see in the middle is a piece of metal that covers the hole where the chimney used to go through the room.
So there you have it. Not much else could be done until we were living in the house. While I struggled to finish what I could at the NewOldHouse working crazy hours, there was also the monumental task of packing up the apartment including Leif’s massive research library, my sewing studio, and our sizeable collection of housewares.
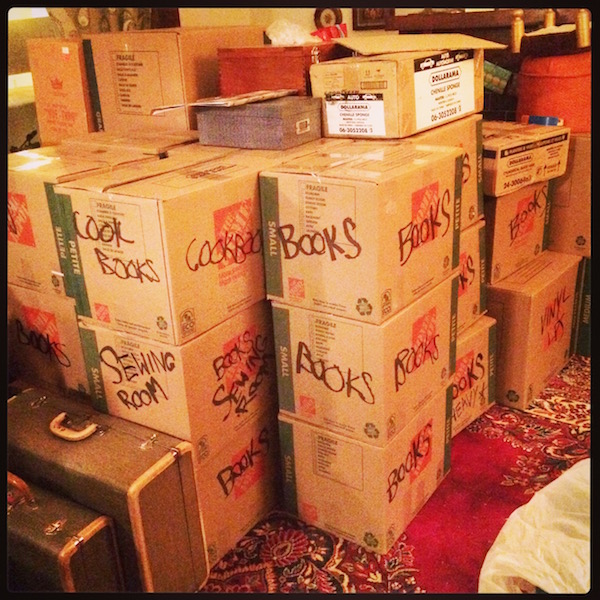
Some of the many boxes of books. I stopped counting at 50…
Before leaving I wanted to make sure we left the place clean and patched. Luckily we had sublet to some good theatre peeps we knew and they were very patient with both parties doing a gradual move. The next phase of NewOldHouse adventure continues next time, in which finally things start to look like home…

Pingback: Penny
Pingback: Lisa N-F
Pingback: Heather Lee Bea
Pingback: Operation NewOldHouse: It Gets Better! | Heather Lee Bea