
If you have been following along on our journey thus far, it’s likely you’ve found the saga of NewOldHouse rather depressing. The amount of work and stress that went into the property in the month before we had to start living here was monumental considering it was just the two of us with occasional help from a few hardy peeps. Timing-wise, September was a bad month to be doing so much because it seems to be a very busy time for everyone. I had so many people tell me that they wanted to help out but couldn’t due to previous commitments. You can track my increasing frantic stress levels on my social media… But what was done was done and we started the next phase of making it home.
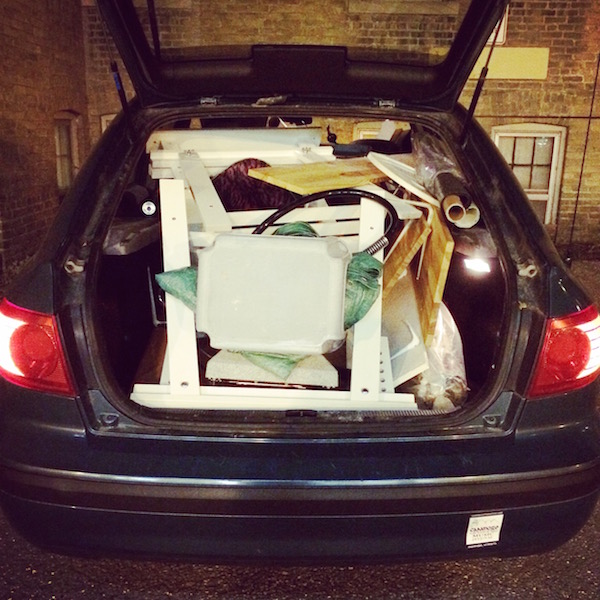
The final load from the apartment. I packed every inch of my mom’s Subaru with the dregs of the sewing room because I was not going to make another trip!
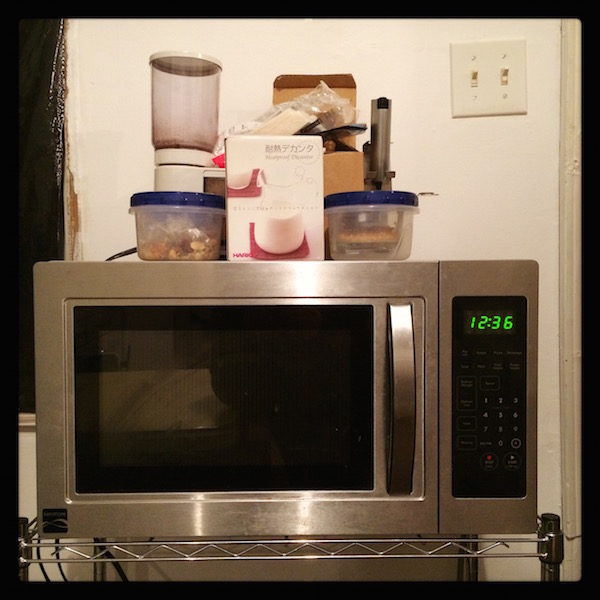
The night we finished moving. My stage manager tendencies made sure we had a microwave and coffee set-up preset in the house.
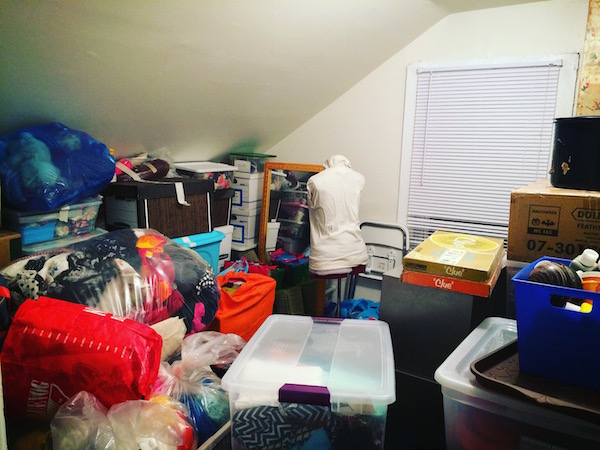
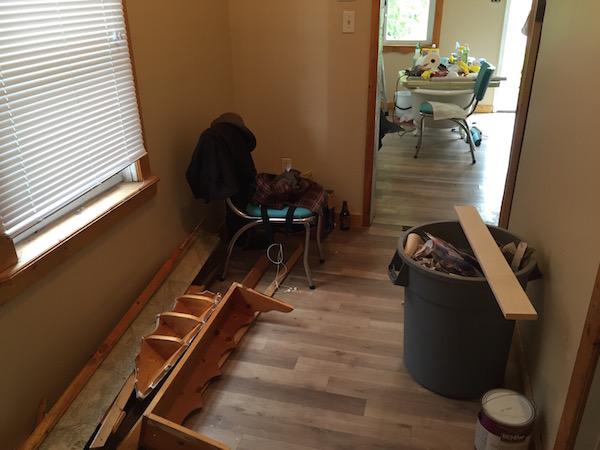
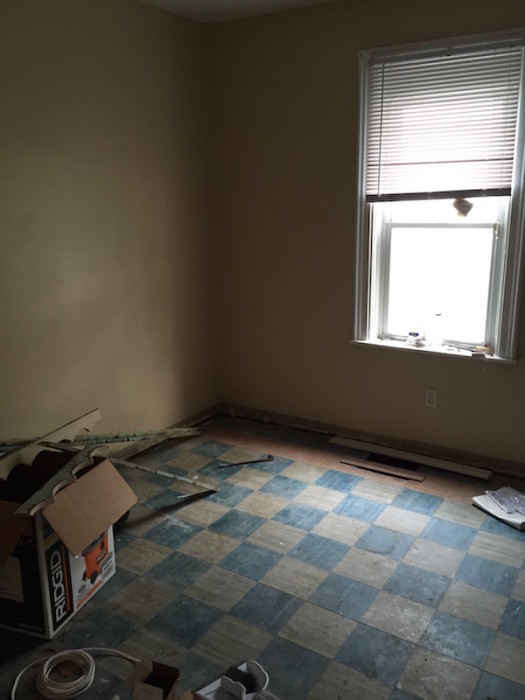
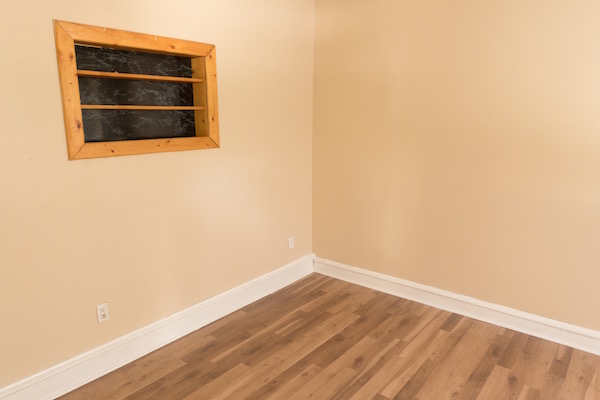
As stated in previous posts, the top floor was pretty much move in ready, and the basement had been made dry and safe (although still occupied by some spiders etc.) but the main floor was pretty rough still. Despite our brains being pretty melty from all the renos we had astutely rented a storage container for the backyard to put some of the larger furniture in while we finished making the spaces livable. Anyone who has moved house will know that having all of your belongings in boxes somehow takes up far more space that they do arranged in a room, and we had plenty of them stacked inside the house.
Leif is excited to be done moving.
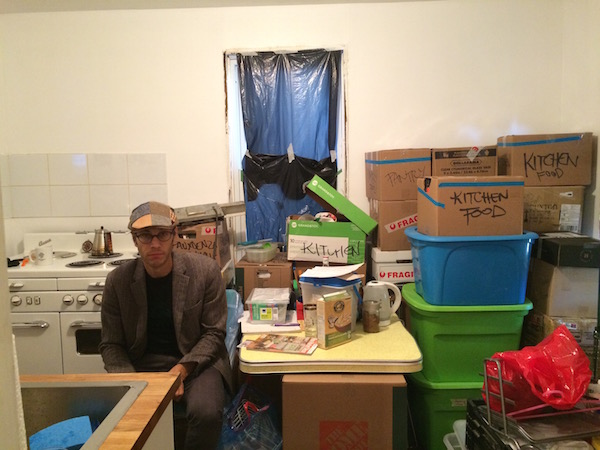
So much stuff! Lower left is the really useful ‘Essentials’ kit I threw things into while packing (coffee making things, important paperwork, toiletries and some kitchen things).
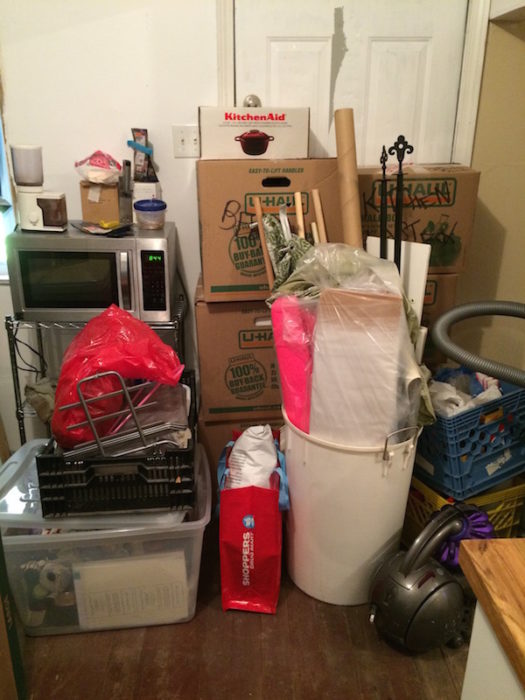
When boys stack things but there’s room in the middle and things are blocking the door…
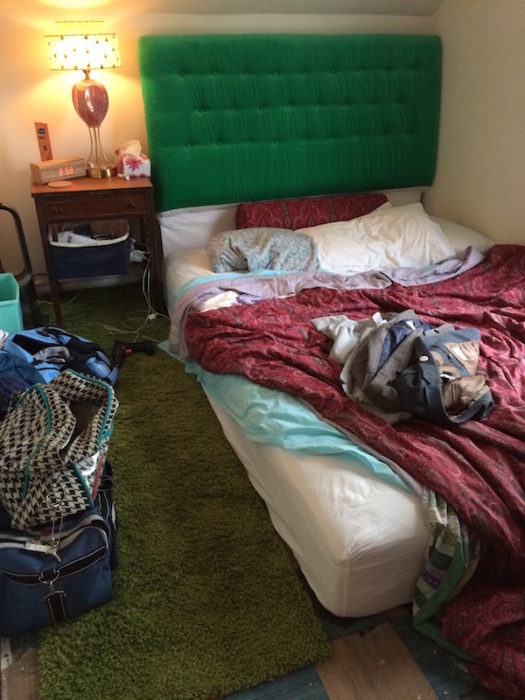
Temporary bedroom set up was a priority for the first night. Pieces of carpet left over from a prop job cover the not so nice tile.
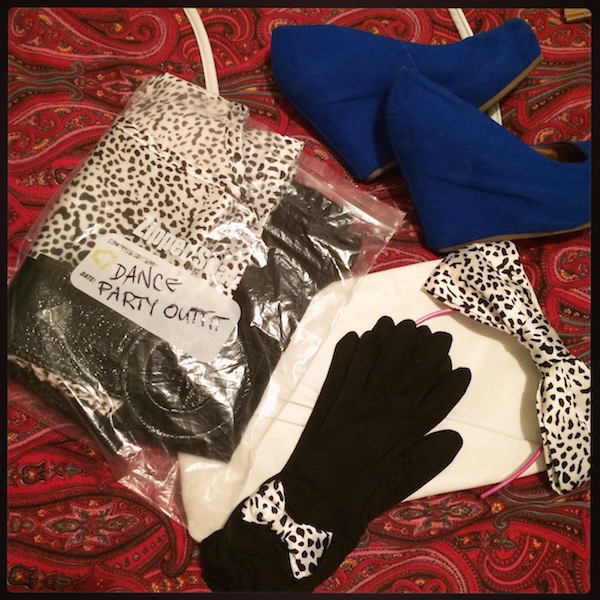
It’s never fun to live with the aftermath of moving. The space isn’t your own yet and navigating piles of stuff as you unpack can get annoying. I did try to take a few days ‘off’ in the week immediately following the move – or at least doing less in a day and slowly unpacking or doing little ‘fun’ projects like installing light switch covers. I’d also specially packed myself an outfit to wear to a semi-annual dance party on the following weekend because darn it I needed some fun!

Old stock light switch covers gave the place some character and replaced the super gross plastic ones.

Post move dance party realness with well earned under eye bags…
That being said, the storage container couldn’t be kept too long and we made ourselves a deadline for getting things to a livable state a month and a half post move when we would have our first official gathering (a house luke-warming party). We knew that not everything could be finished, but at least rooms painted and cleared of boxes.
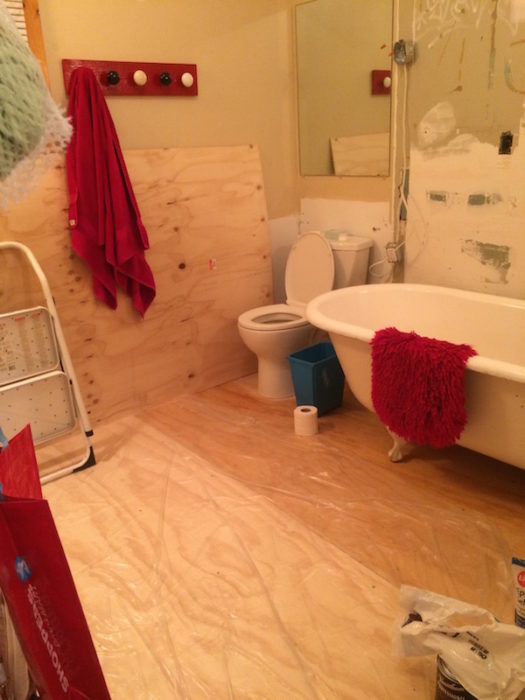
Plywood floors but still lots of work to do in the bathroom after the move. We didn’t even have a functional sink for a couple of months so we had to use the one in the kitchen. Luckily it’s right outside the door!
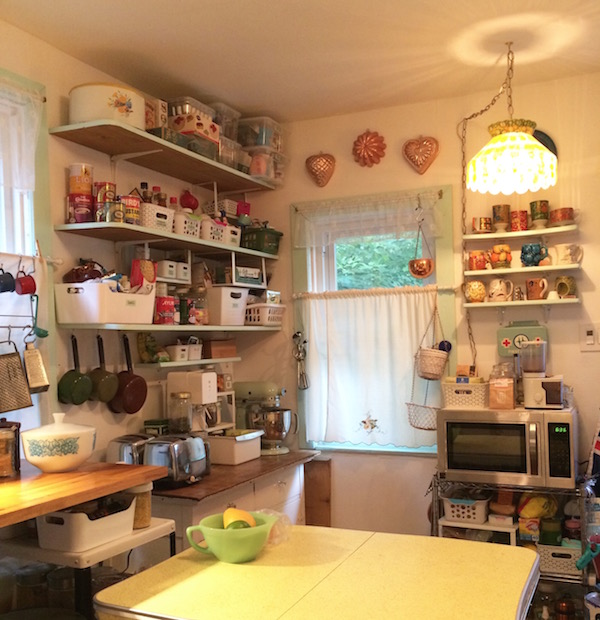
Kitchen: The crappy stove had been replaced by a 1950s model we scored (an Acme brand with a warming oven and hot water pot built in). I gave it a good scrub and it works great except for one element at the back.
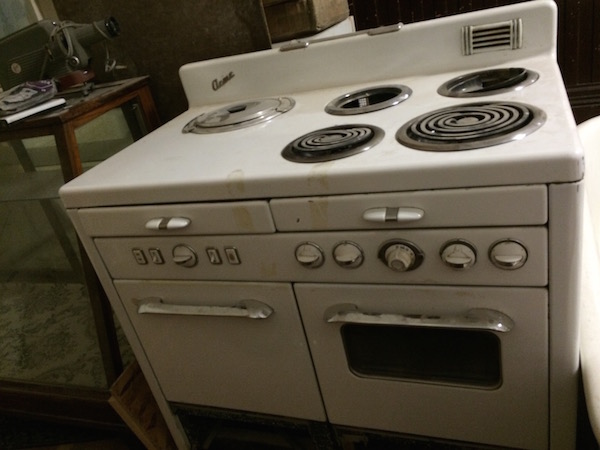
The new old stove before installation.
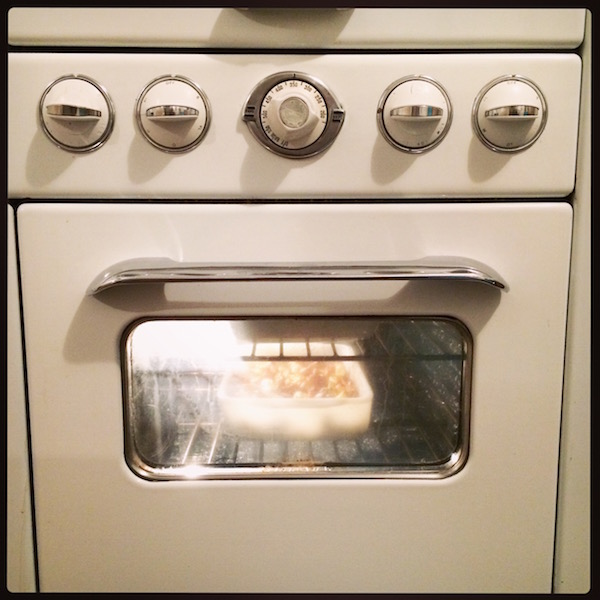
After a good scrub, the inaugural bake!
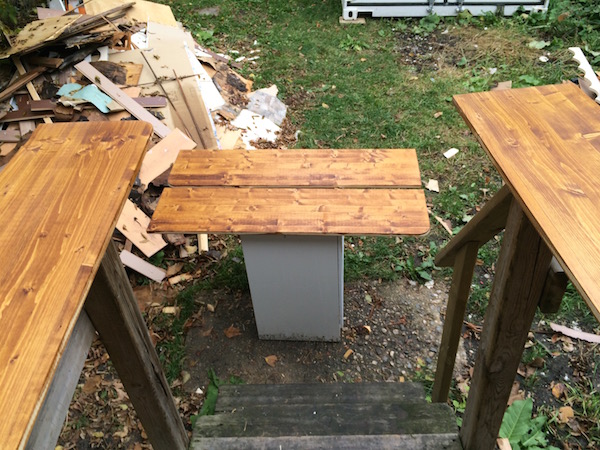
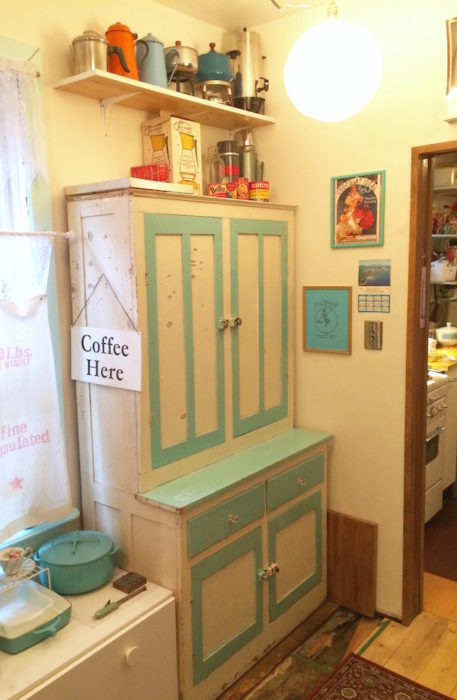
In the other outside corner, a 1930s cupboard unit free off of someone’s boulevard. The top was covered in mac tac but a heat gun, some sanding and a coat of varnish had it looking great.
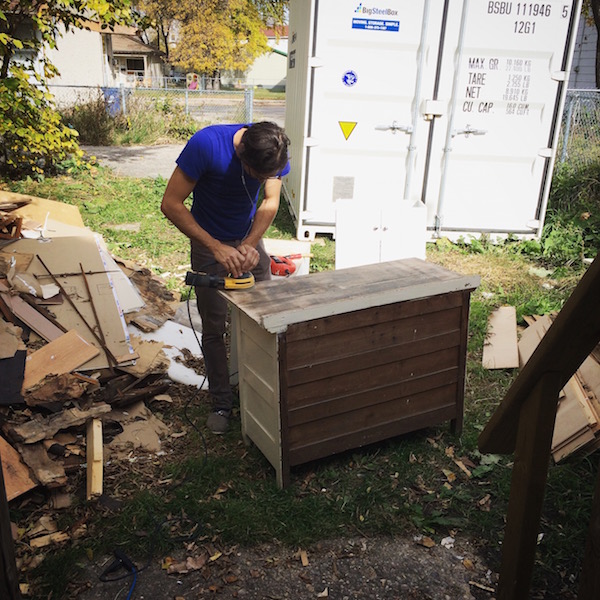
Backyard workshop. Re-finishing a salvaged storage unit. Shipping container full of furniture waiting patiently.
Above these on both sides and above the sink I installed open shelving for storage. The old window frames were sanded, painted Clear Aqua and re-installed (sans pointy valences). As much as we’d ripped out of the house, we tried to re-use as much as possible. Lots of bits were put back with a makeover or in repairs.
New kitchen shelves getting stained. Lots of bits pulled out of the house.
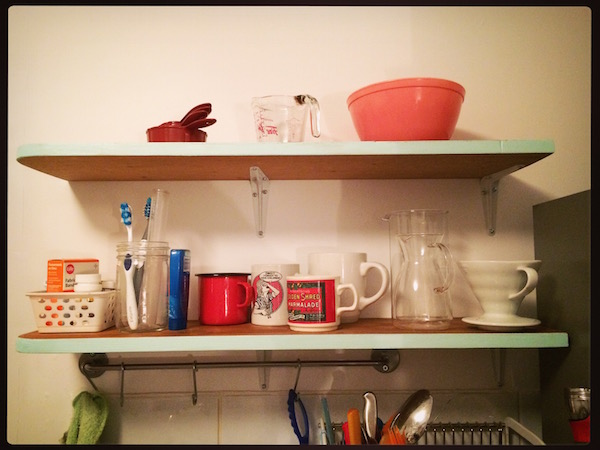
Smaller shelves above the sink for mugs was temporarily also for our toothbrushes since the bathroom sink had yet to be plumbed in.
Beside the stove is a narrow pull out unit topped with the same oak countertop as the sink. To accommodate the low windows and make things flexible, the remaining counter is attached with a piano hinge so that it can be swung down for cleaning etc.
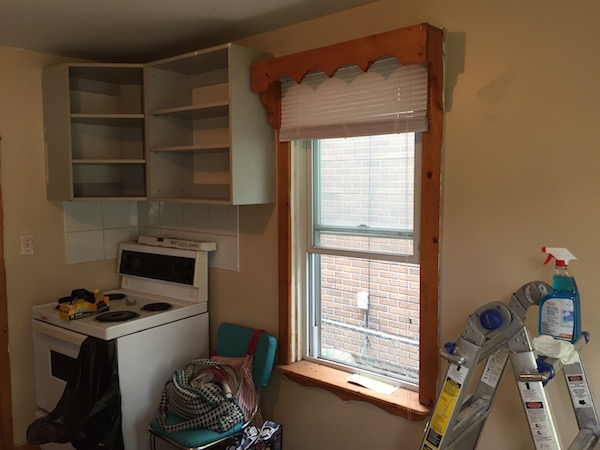
Kitchen ~ Before: Grey laminate, pointy wood, general gunge.
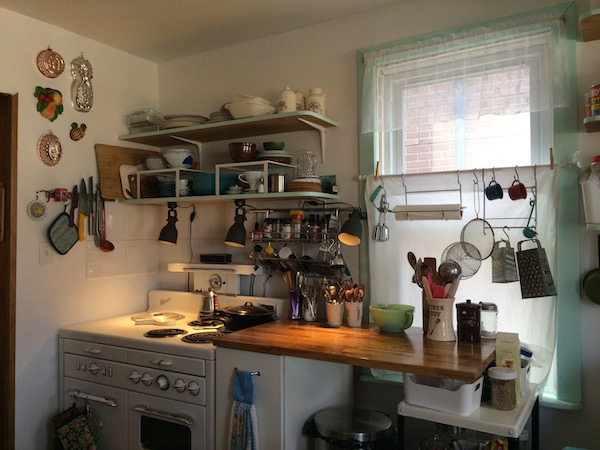
Kitchen Corner ~ After. 1950s stove, oak countertop, open shelving and vintage jello molds. Directional lights from Ikea. Hanging storage across the window. The window coverings provide privacy but still let in lots of light!
Kitchen ~ Before. Pointy wood and the knick knack shelf that was in every room.
Kitchen Corner ~ After: Shelves, jelly molds, ugly mugs.
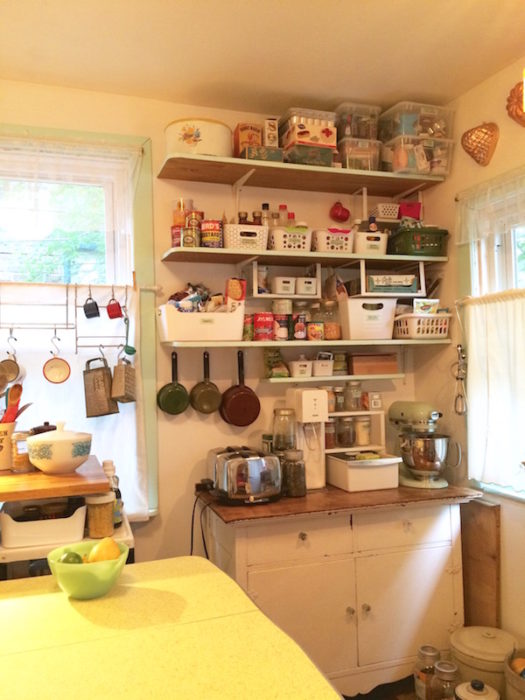
Kitchen Corner ~ After: Open shelves, 1930s cupboard unit.
In our previous two homes we have always had a dedicated area for the Ugly Mug Collection. Over the years the collection has grown and only a selection can be displayed. We had to tell people to stop gifting them to us… Since wall space is at a premium in this house, the old shelves (themselves salvaged years ago from a friend’s old house) were shortened/got a new coat of paint to match the kitchen trim. Getting to do this kind of ‘set dec’ at long last made me giddy. I also hung my collection of vintage jello molds (that I actually use!) around the top of the wall. I like how the copper tones and the light teal compliment each other.
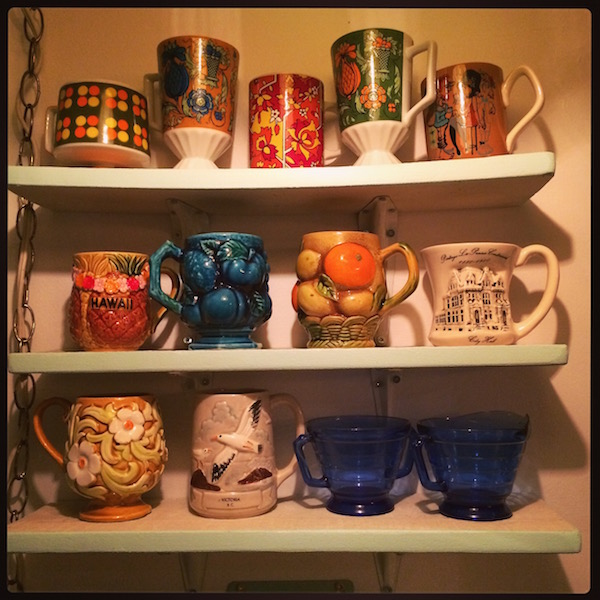
The first version of the Pacific Ave Ugly Mug shelf. The boards are from a 100 year old house. I like how the top one curves. This isn’t just a display. We use the mugs too!
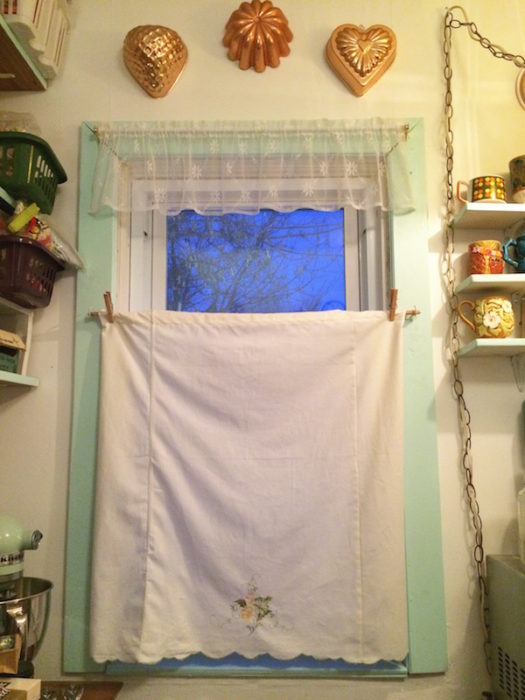
Copper and Clear Aqua and vintage pillowcase curtain.
Storage (or lack thereof) is an issue. We went from the high ceilings and plentiful closets of the Edwardian apartment to the smaller rooms and singular (wee) closet of 1897. The 1930s pantry unit we had fit nicely into the wider hall area and is right next to the kitchen. It holds all of my GF flours, baking things, mixing bowls and baking pans, along with our collection of vintage cookbooks. Above it is another shelf for less frequently used kitchen items like the party percolator and fondue pots.
Pantry Hall ~ Before
1930s Pantry unit in it’s new home. We also installed a re-pro push button style light switch for a vintage feel.
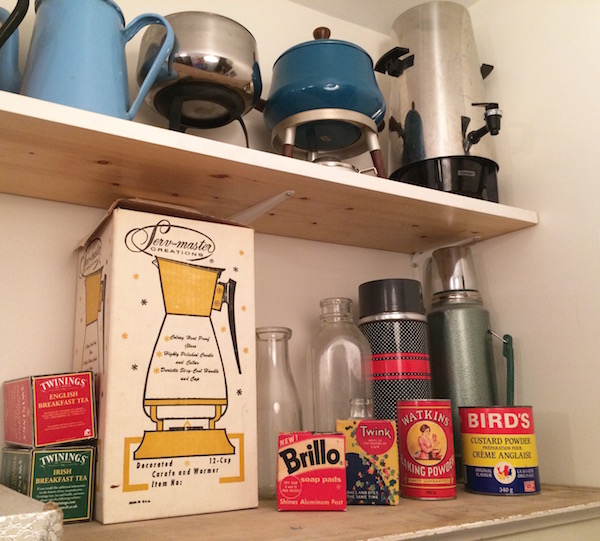
Vintage housewares for display and use!
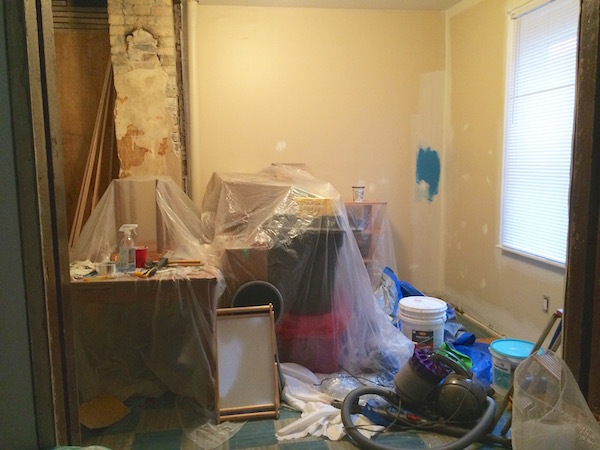
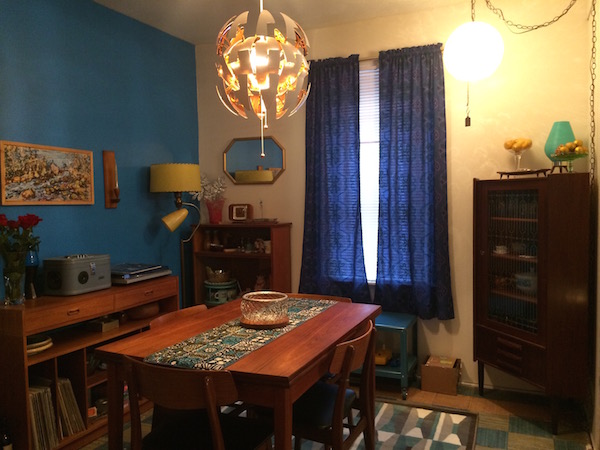
The dining room was the first mostly complete makeover. The chimney had been exposed and layers of wallpaper fragments removed. The last bits on the plaster plus the exposed brick on the upper portion were sealed with a clear coat to prevent dust from being an issue. It’s rough looking but we like the way it shows the history of the house. The wall beside it was painted with an accent wall in Peking Blue. After we’d bought the paint I discovered an identical paint chip card I’d had for years! The blue really pops all of our midcentury teak furniture in this room.
Dining Room in progress.

Peking Blue wall is popping’.

Dining room unpacking madness. New light fixture gives it more ambiance.
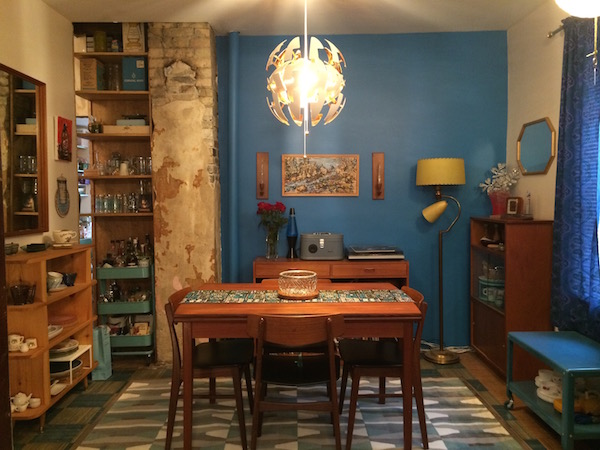
All set up with our lovely teak, art by local peeps, and a rug that happens to match the 60 year old tile almost exactly!
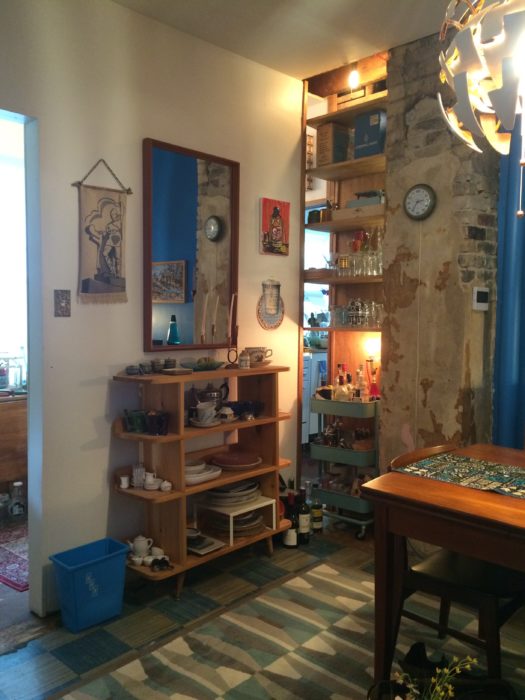
The space between the hall and chimney (formerly an awkward storage space) got a thin plywood backing to cover the lath and seal in the wall. Shelves provide more storage for barware and serving things – and can be accessed from the hall or the dining room! Bonus: you can see the kettle boiling from the dining room table.
Pacific Avenue: Dining Room ~ Before
Dining Room ~ After. Door removed, chimney exposed, built in storage. A light at the top lets you see the 1897 beams and lath. Sideboard built by me years ago. Vintage teak mirror finally got a wall to hang on.
The odd closet beside the chimney as seen from the hall. To the left is the doorway to the kitchen.
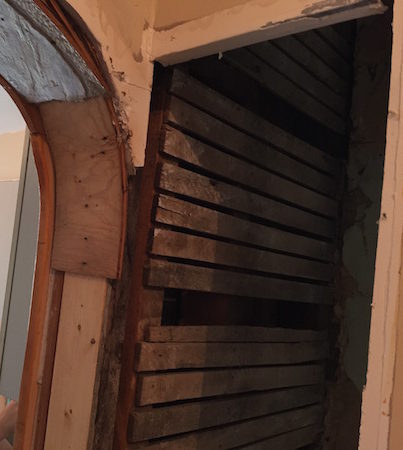
Barware shelves ~ After: The funny curved doorway was stripped down to the 1897 2x4s (sanded and varnished and left exposed as another historical feature).
Dining Room ~ Before.
Dining Room ~ After. Everything except the ceiling lamp were things we already owned. Fitting things into a smaller space was a bit tricky.
The Living Room underwent a similar transformation. The new drywall ceiling and walls painted a warm off white, with an accent wall in emerald green for the salon wall of gold frames.
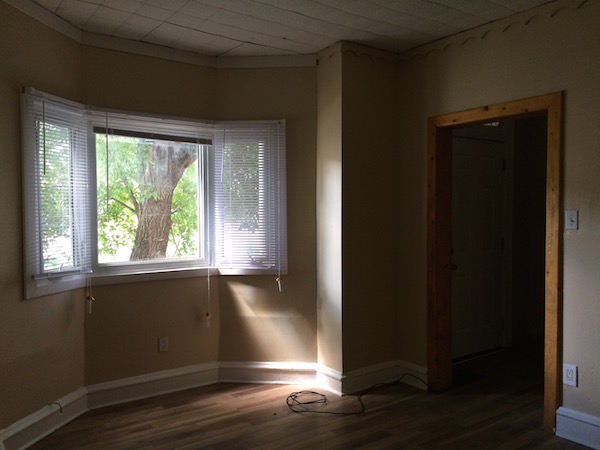
Living Room ~ Before
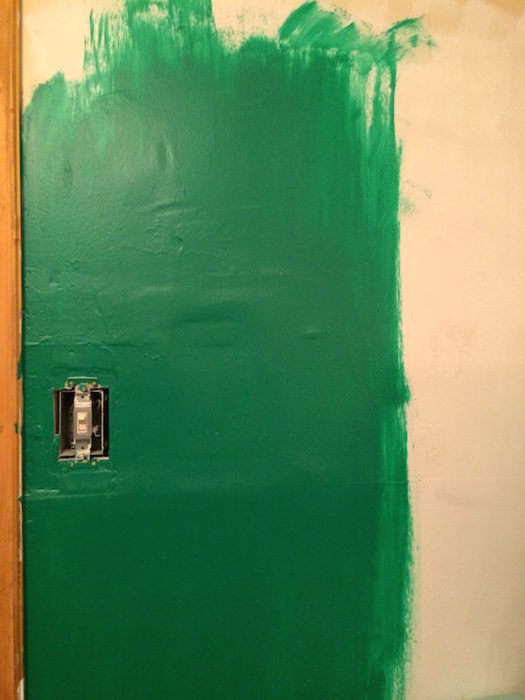
Testing the green…
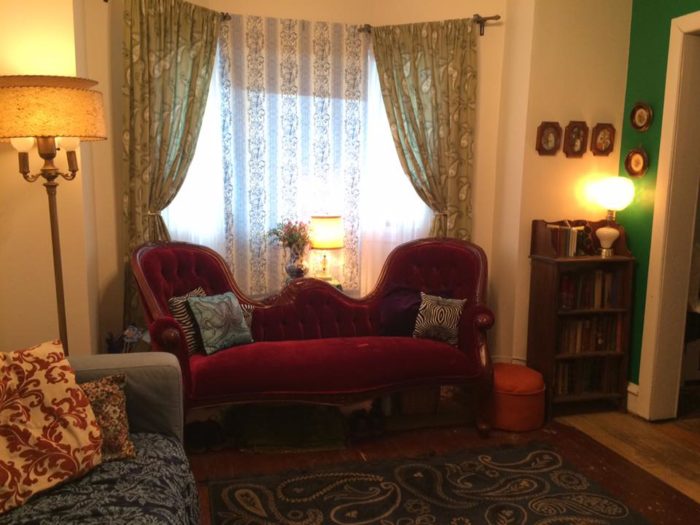
Living Room window after initial set up. Temporary drapes from the apartment and doorframe painted white for the time being. I was so happy that our c. 1960s Victorian sofa fits in this space!
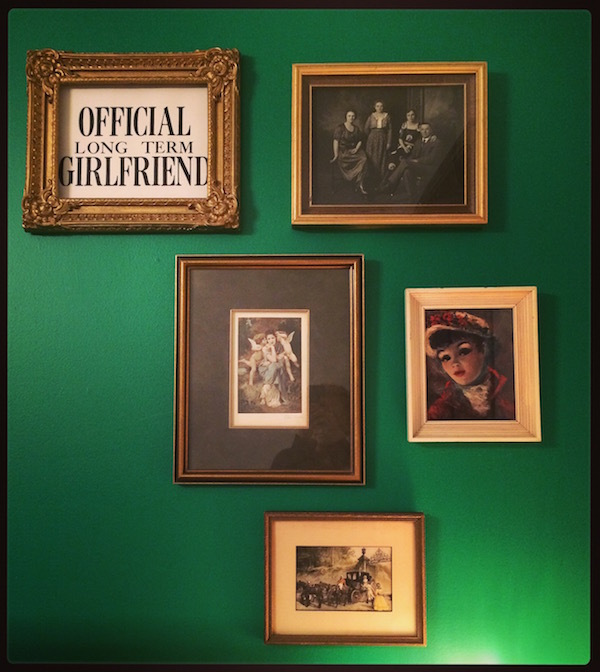
The first version of the salon wall.
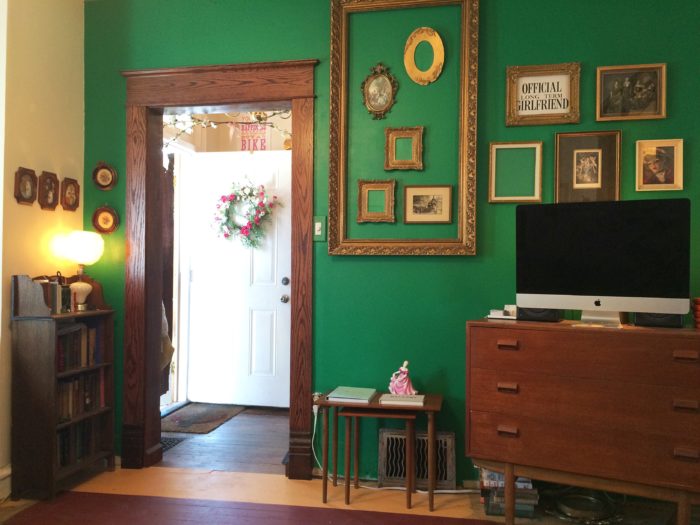
A more recent photo of the green wall with the brand new Victorian style doorframe that Leif built. We’ve concentrated on the entranceway and living room with more 1897 flair. You can also see that we have started to re-paint the 1930s floor. The baseboards are waiting to be stripped and re-installed.
Living Room ~ Before
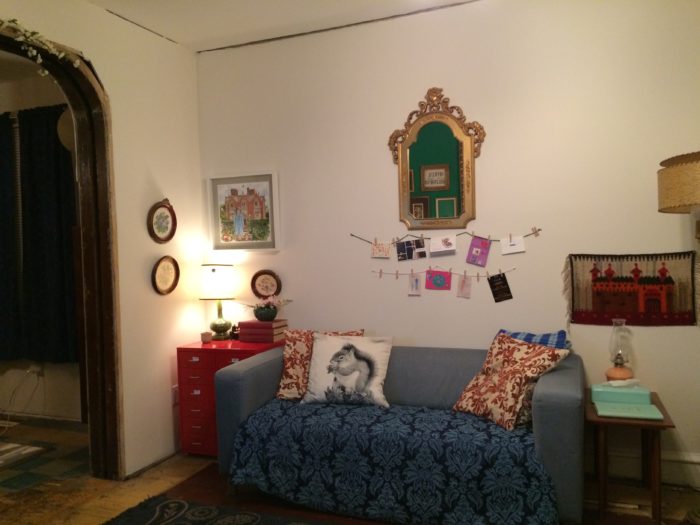
Given the smaller spaces, we’ve had to mix and match with midcentury and Victorian influences. In place of a mantle, this ornate gold frame is the focal point. Trim and moulding are still a future project. Nod to Chad with a squirrel pillow. Door trim and crown moulding are TBA.
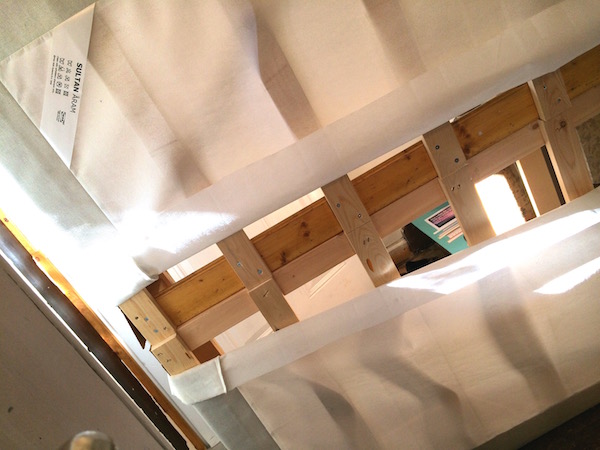
The upper floor was painted and scrubbed but still very much full of boxes et al.
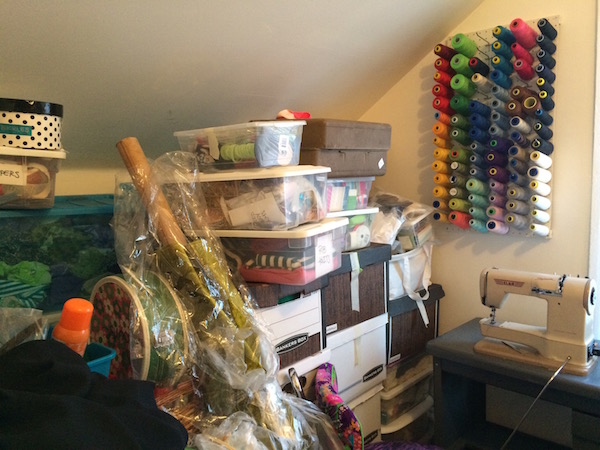
Upstairs, I carved out a tiny workspace to start sewing projects in the room that would be my studio. The roll of green velvet is old stock upholstery that will become the living room drapes!
A corner of the bedroom set up for a bit of sanity in the unpacking chaos.
Inevitable bedframe hack to fit it up the stairs. Used some wood we pulled out of the house to make it 2 pieces.
Bits and bobs:
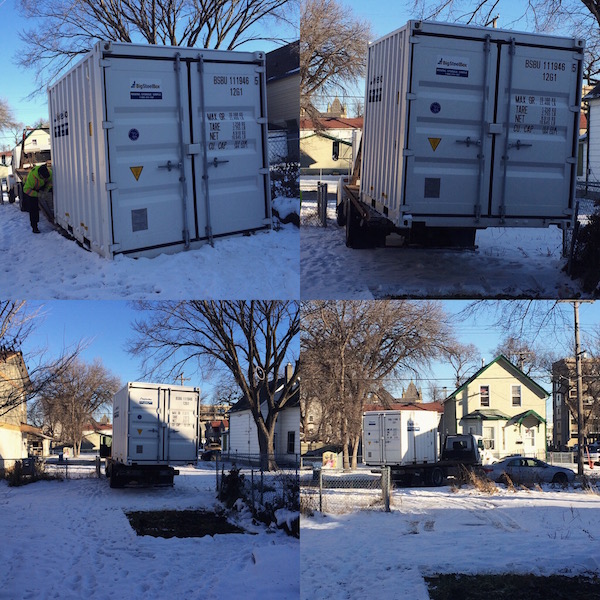
The Shipping container was emptied and taken away at the end of November 2015 – 2 months after the move.
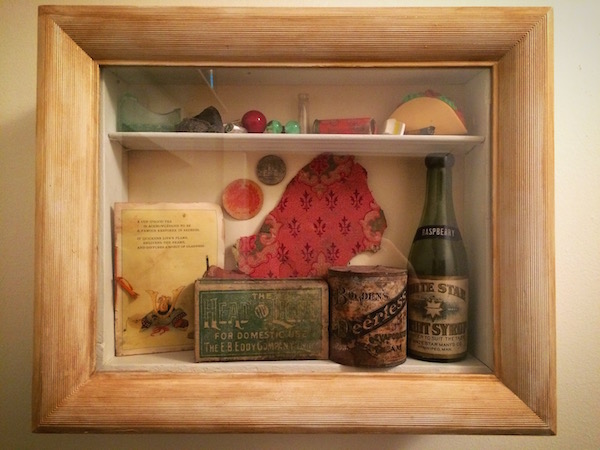
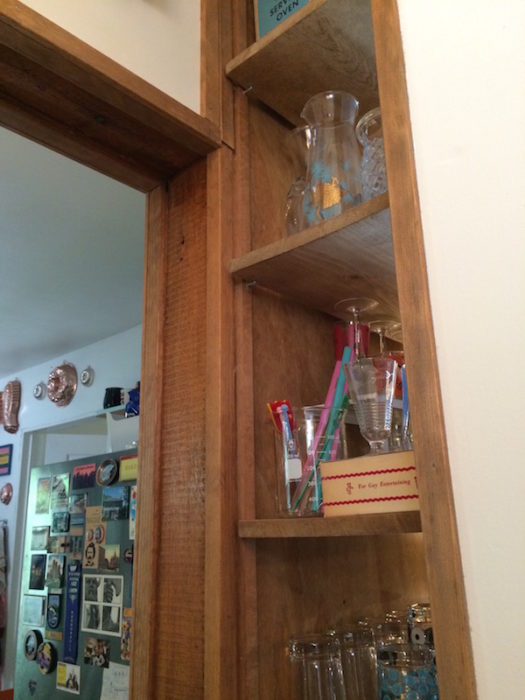
Some of the house treasures got a custom display case that hangs in the hall.
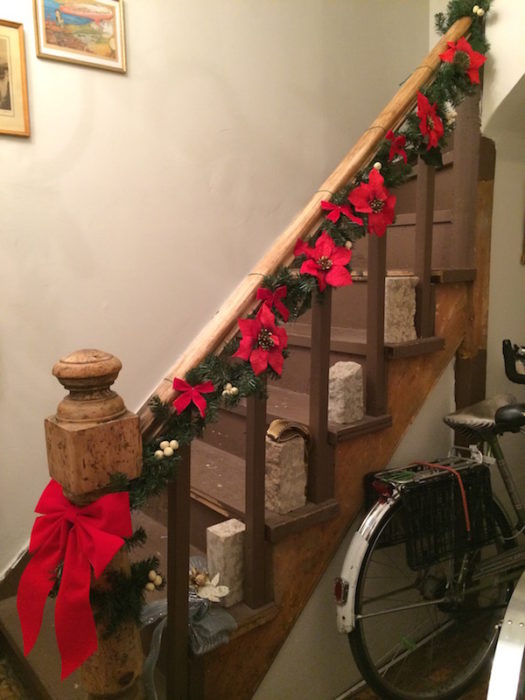
As a reward for my hard labour, I went full out with xmas decor. Here’s the still very much in progress stairs with Victorian style swags.

The entranceway bare bulb was replaced with a modern but classic look chandelier that I thrifted (pictured with holly and ivy – Victorian style xmas).

We do an annual xmas card with a silly photoshoot, and in honour of the house, went mock up Victorian for 2015.
That’s pretty much what happened in the first few months! Many more projects to follow including the bathroom getting better, the stairway gets a new lease on life, and we tackle the backyard!
Bonus: Chad licking the Manitoba Maple tree outside our front window…
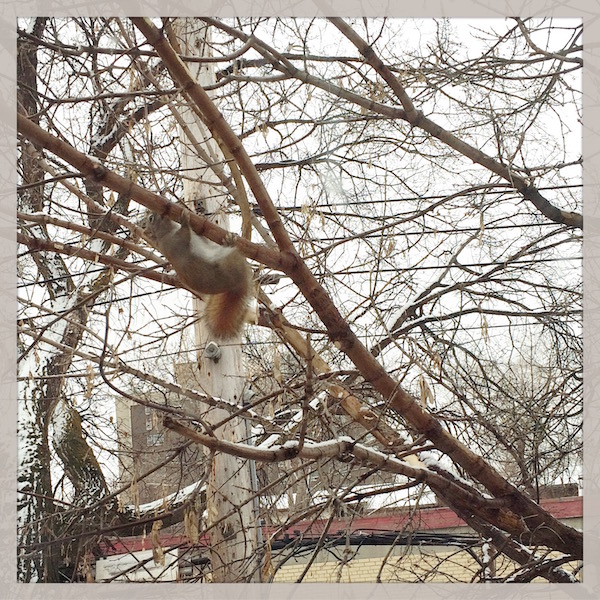
Chad the squirrel noming the tree.


Pingback: Penny
Pingback: Sandy Rubinfeld